Time for an adventure!
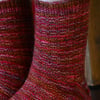
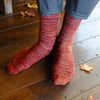
Whether it’s the mountains calling or your current read, these socks are ready for action! Cast on one of three sizes from Youth to Adult Large, then work in the round from the toe up, using raglan toe shaping, waffle weave texture, and short row gusset heels, until you finish with one-by-one ribbing at the cuff. Perfect for solid and patterned yarns alike, this warm and cozy unisex sock design is perfect for tucking into hiking boots or propping your feet up by the fire. Start your adventure today!
PROJECT LEVEL: Intermediate
—
Digital download includes:
- PDF (standard) - best for printing or for sighted knitters
- PDF (Screen Reader Accessible Large-Print) - best for Print Challenged knitters and reading on phones
- EPUB (eBook) - best for anyone who wants reflowable, resizable text
Refer to “Accessibility” below for more information about file types.
About Design
Construction
Worked in the round from the toe up with raglan toe increases and a gusset heel. Slight negative ease.
Sizes
When choosing a size, round up.
- Youth or Adult Small: 8.5 to 9 inches (or 21.5 to 23 cm) instep circumference.
- Adult Medium: 9.5 to 10 inches (or 24 to 25.5 cm) instep circumference.
- Adult Large: 10.5 to 11 inches (or 26.5 to 28 cm) instep circumference.
Supplies
Yarn
100-gram skein of plied light fingering-weight sock yarn with 423 metres in 100 grams (or 463 yards in 3.53 ounces).
Approximate yardages: 306 (364, 426) yards [or 280 (333, 390) metres]
Needles
Set of five 2.5 mm (US size 1 ½) double-pointed needles (or, optionally, two circular needles of this size or one very long circular needle for Magic Loop Method instead) OR size needed to obtain gauge.
Notions
Yarn needle, at least two stitch markers.
Gauge
40 stitches and 53 rounds = 4 inches (or 10 cm) over stockinette in the round.
About Sample
Earl Grey Fiber Co. Darjeeling Sock, a 75% Superwash Merino and 25% nylon 4-ply light fingering-weight yarn with 423 metres in 100 grams (or 463 yards in 3.53 ounces).
- Colourway: Hawkins.
- Size 3 (10.5 to 11-inch circumference).
Techniques & Resources
Skills you will need:
- Knit
- Purl
- Make a gauge swatch in the round in stockinette stitch
All other required stitches are explained.
Techniques used:
Included resources:
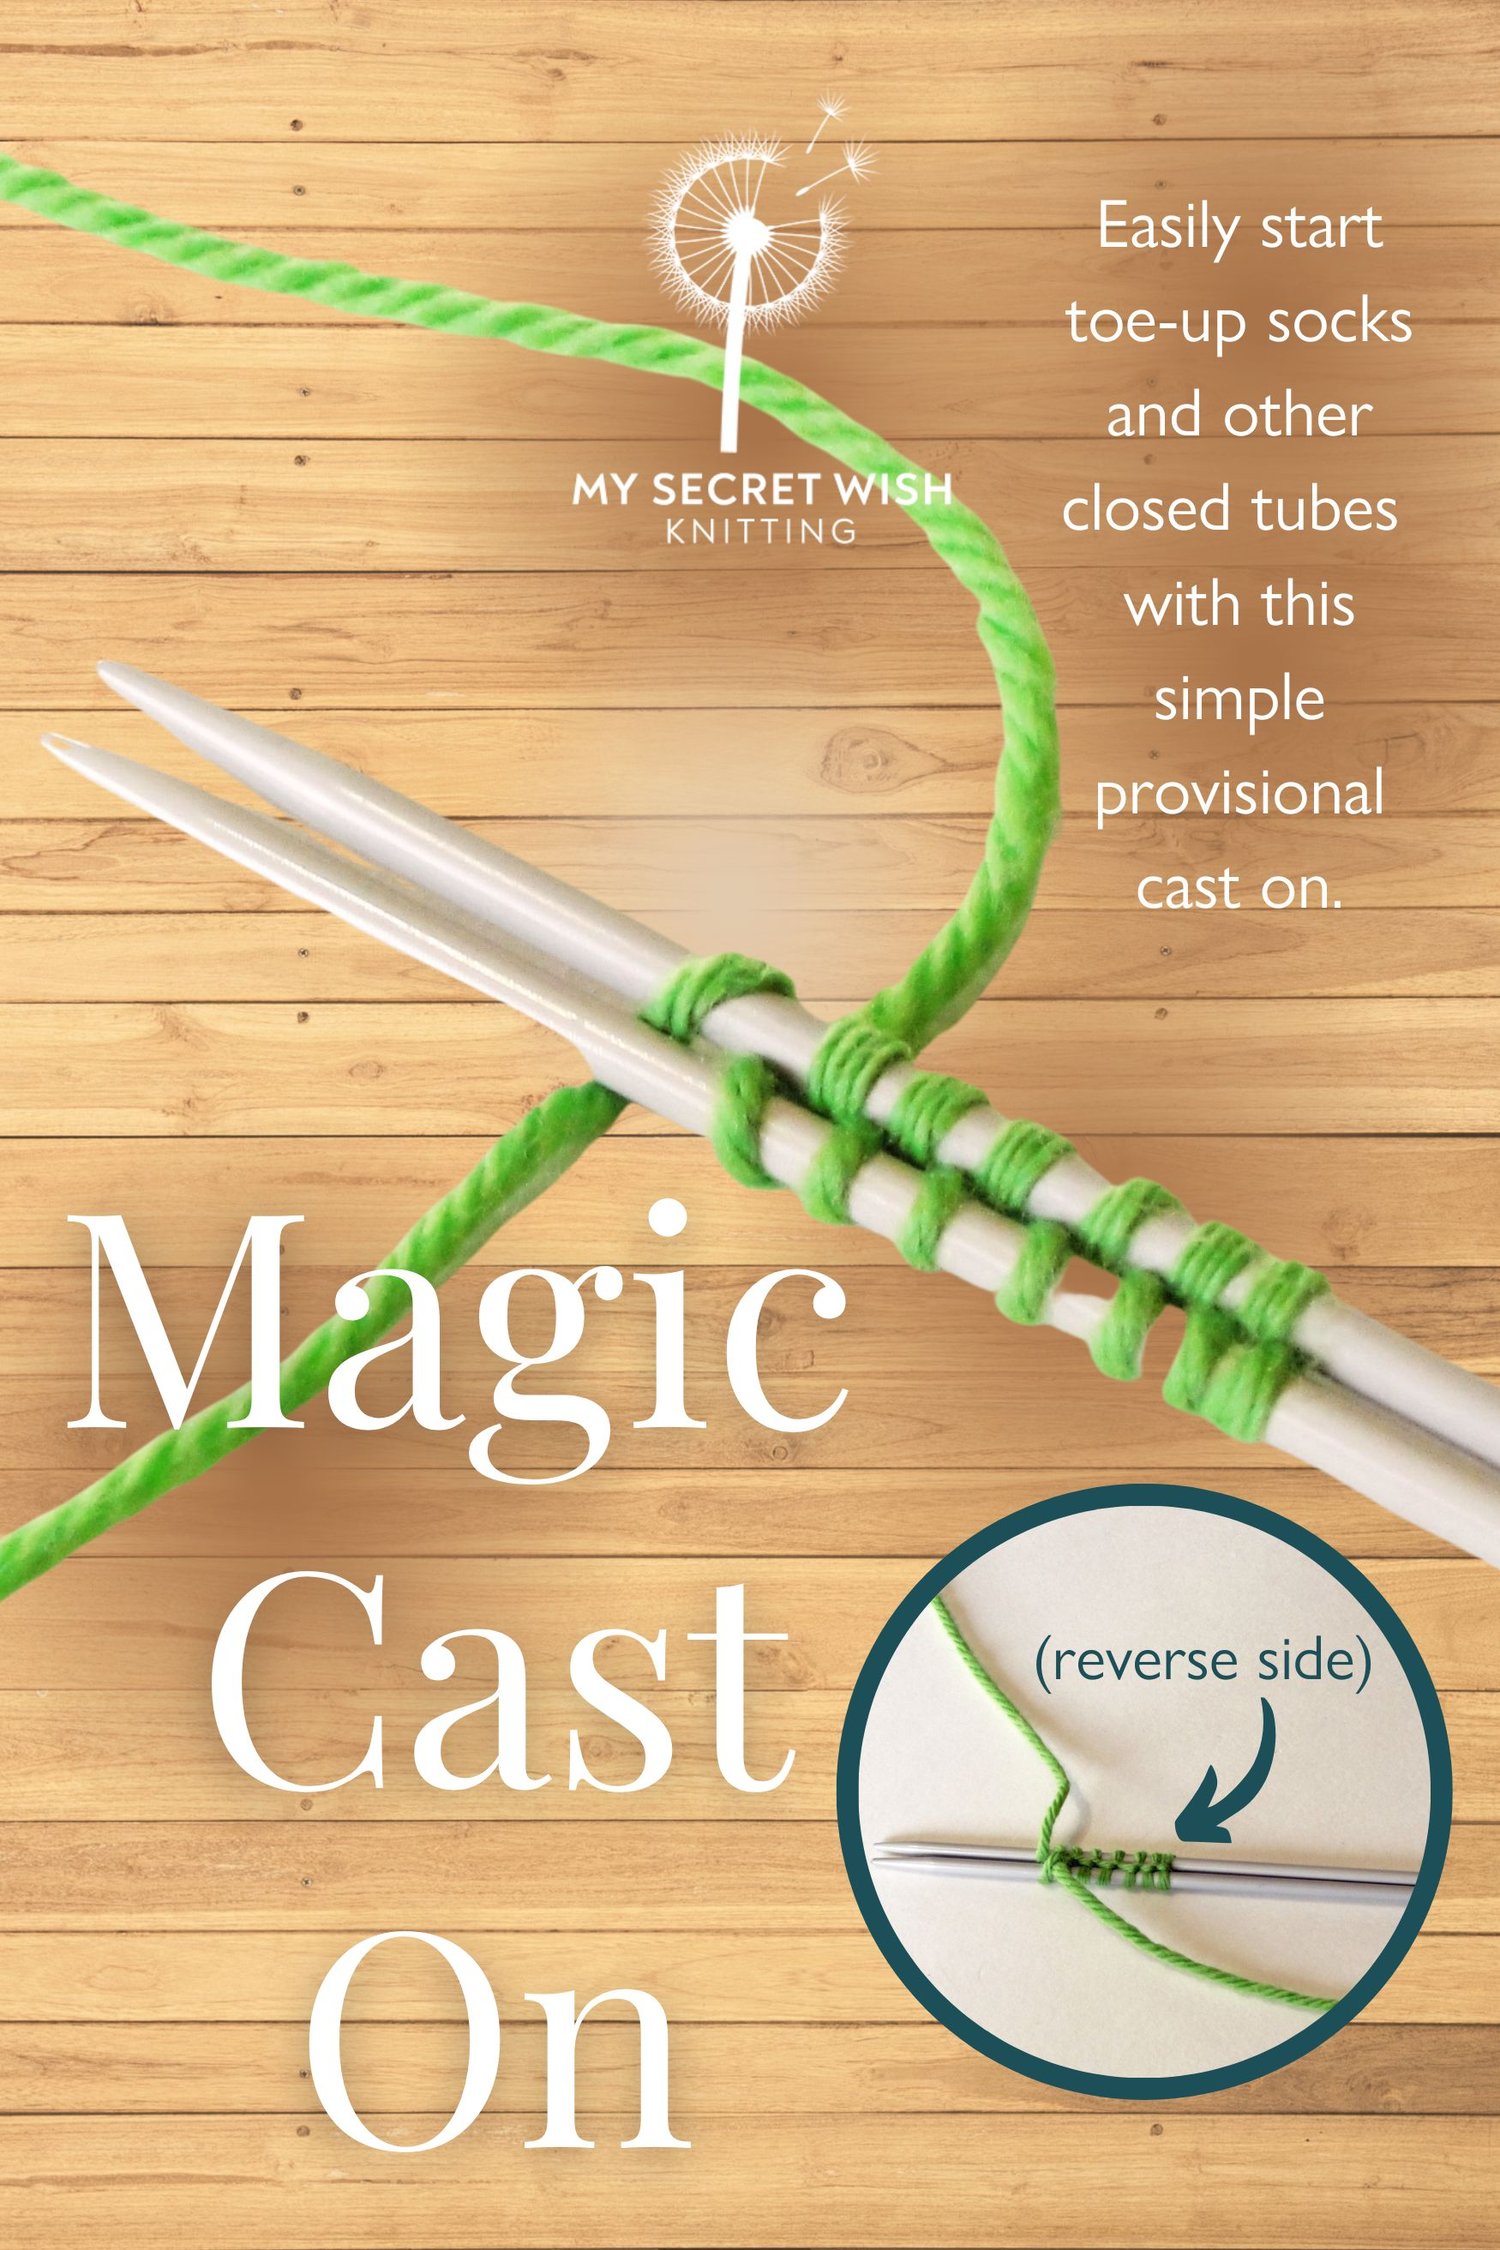
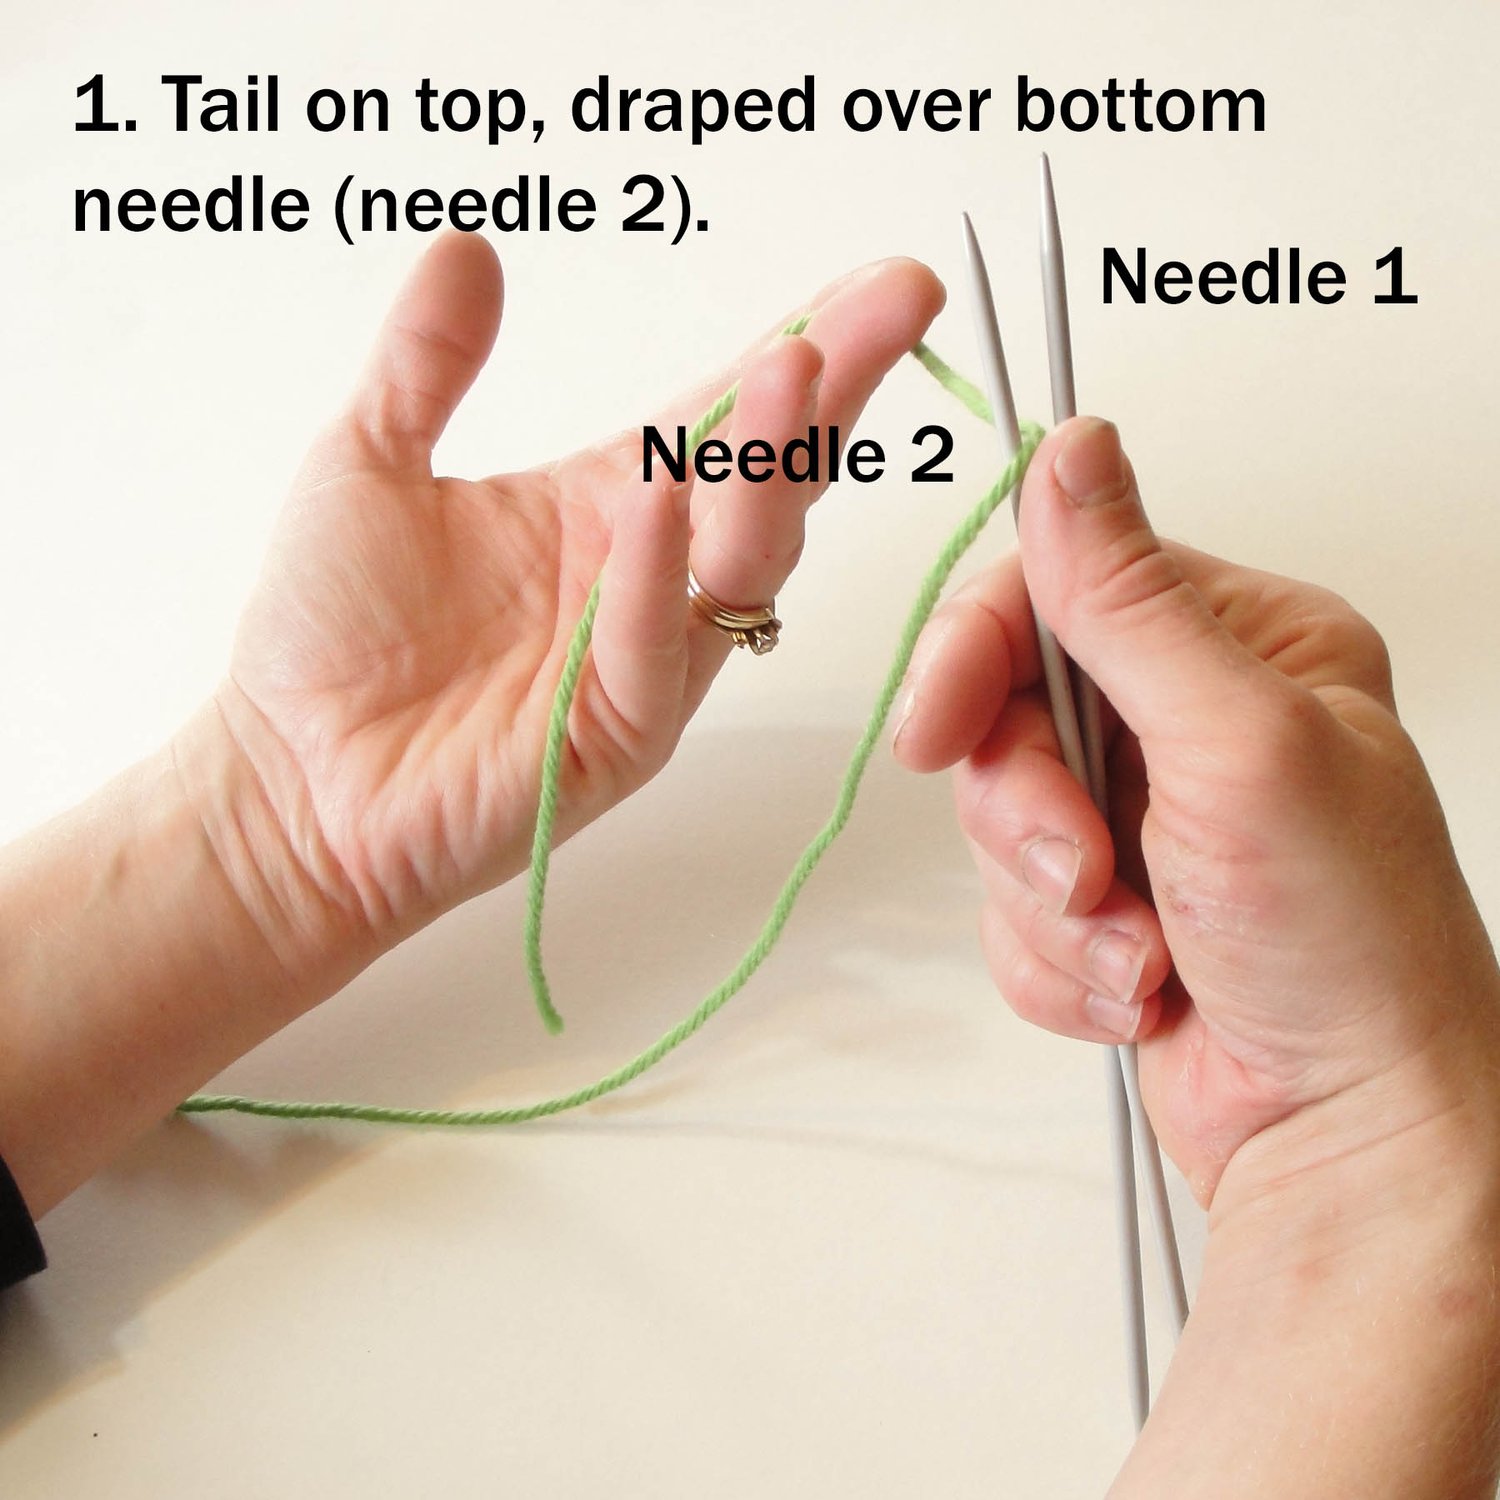
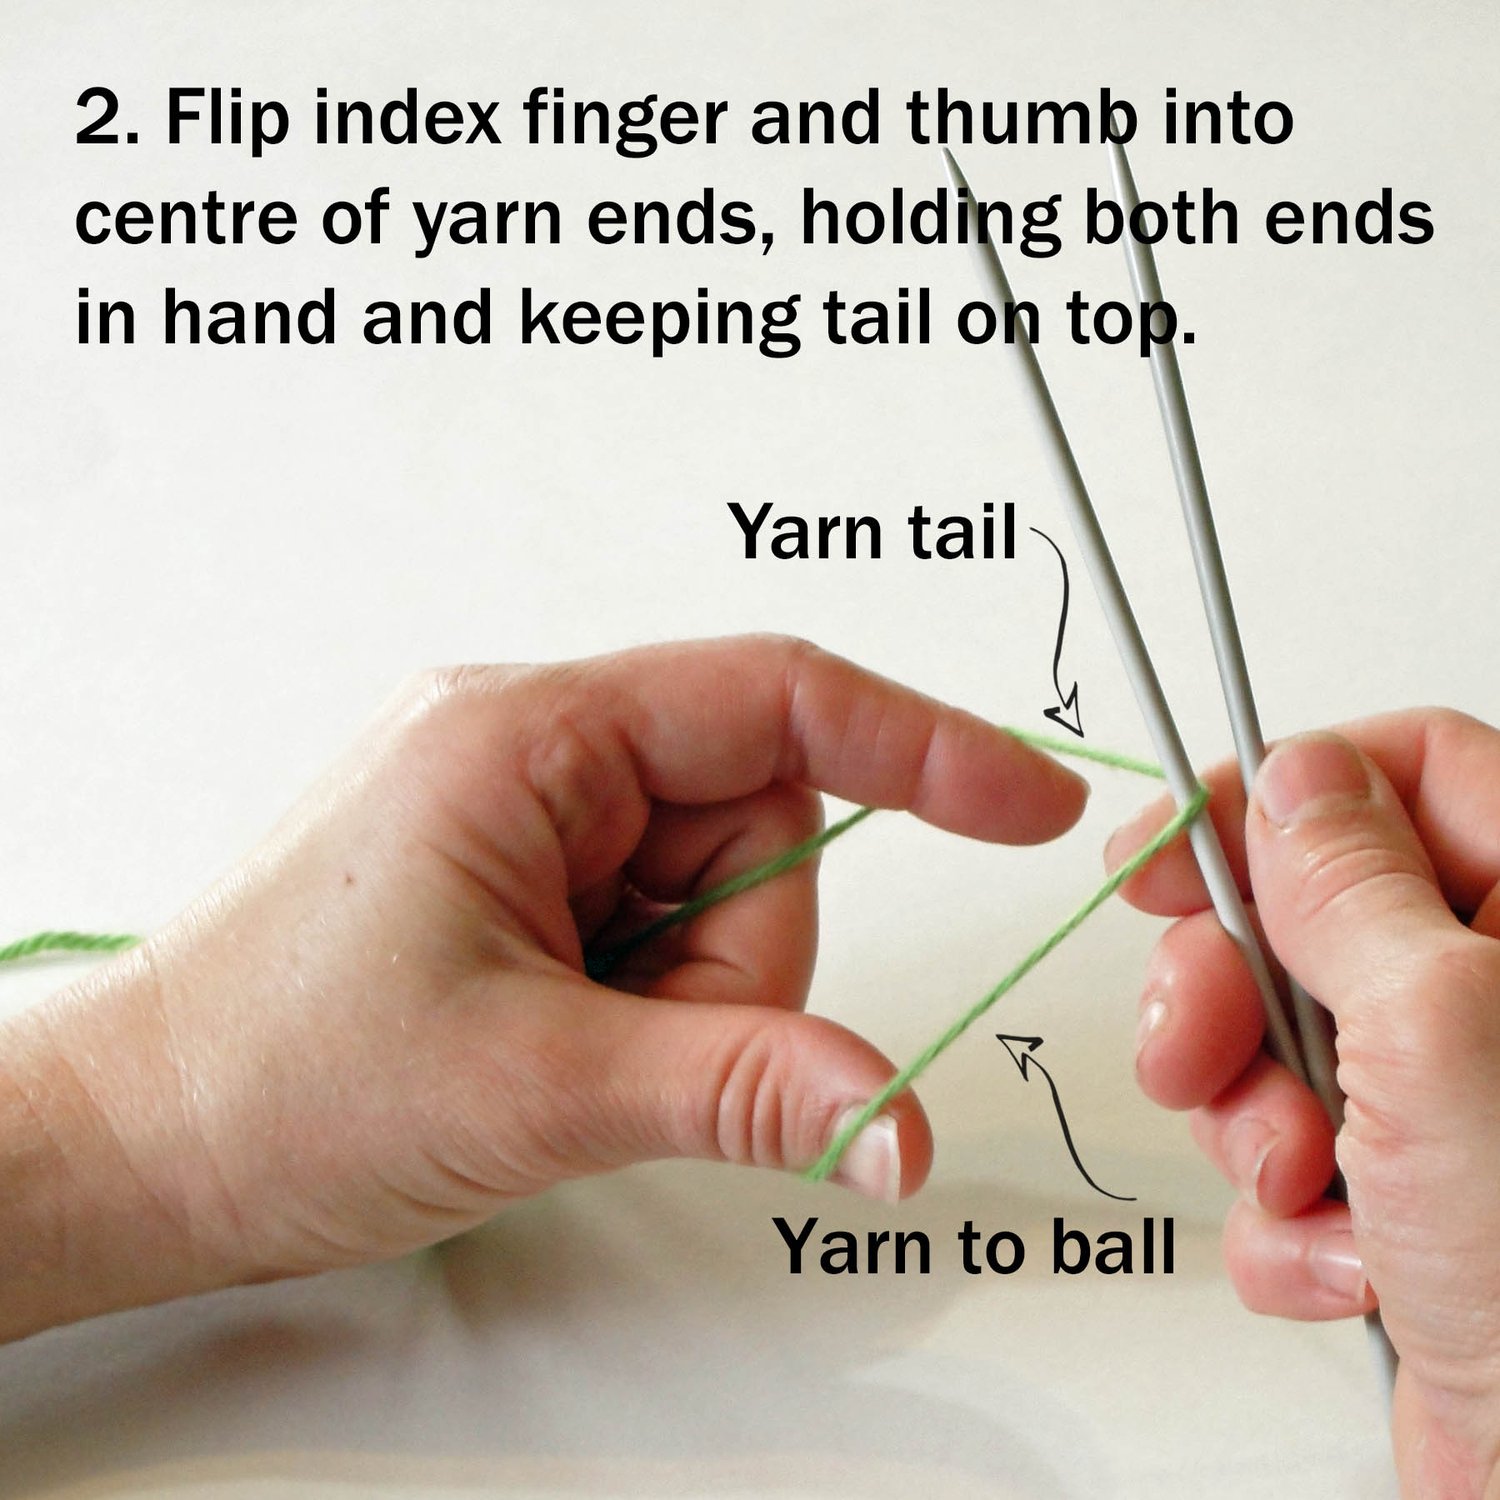
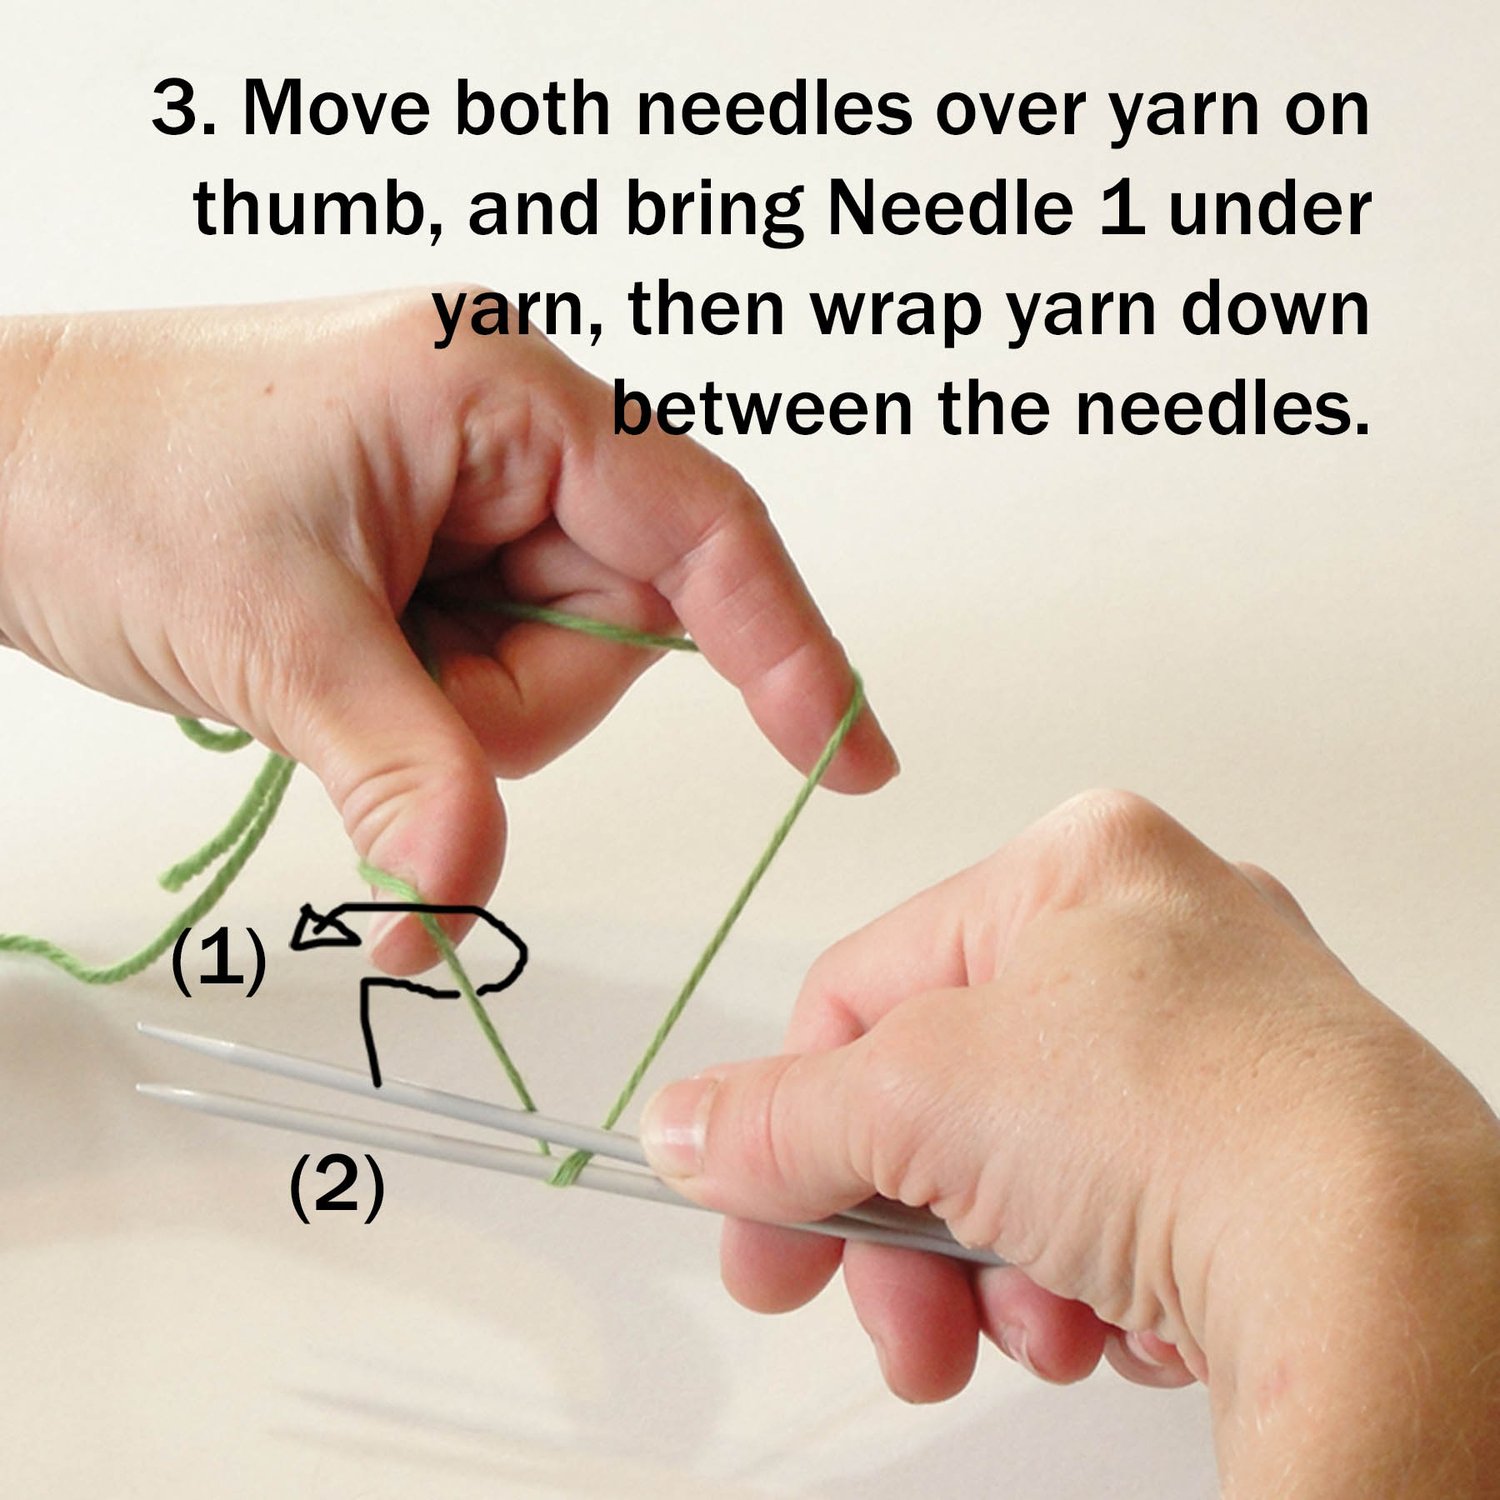
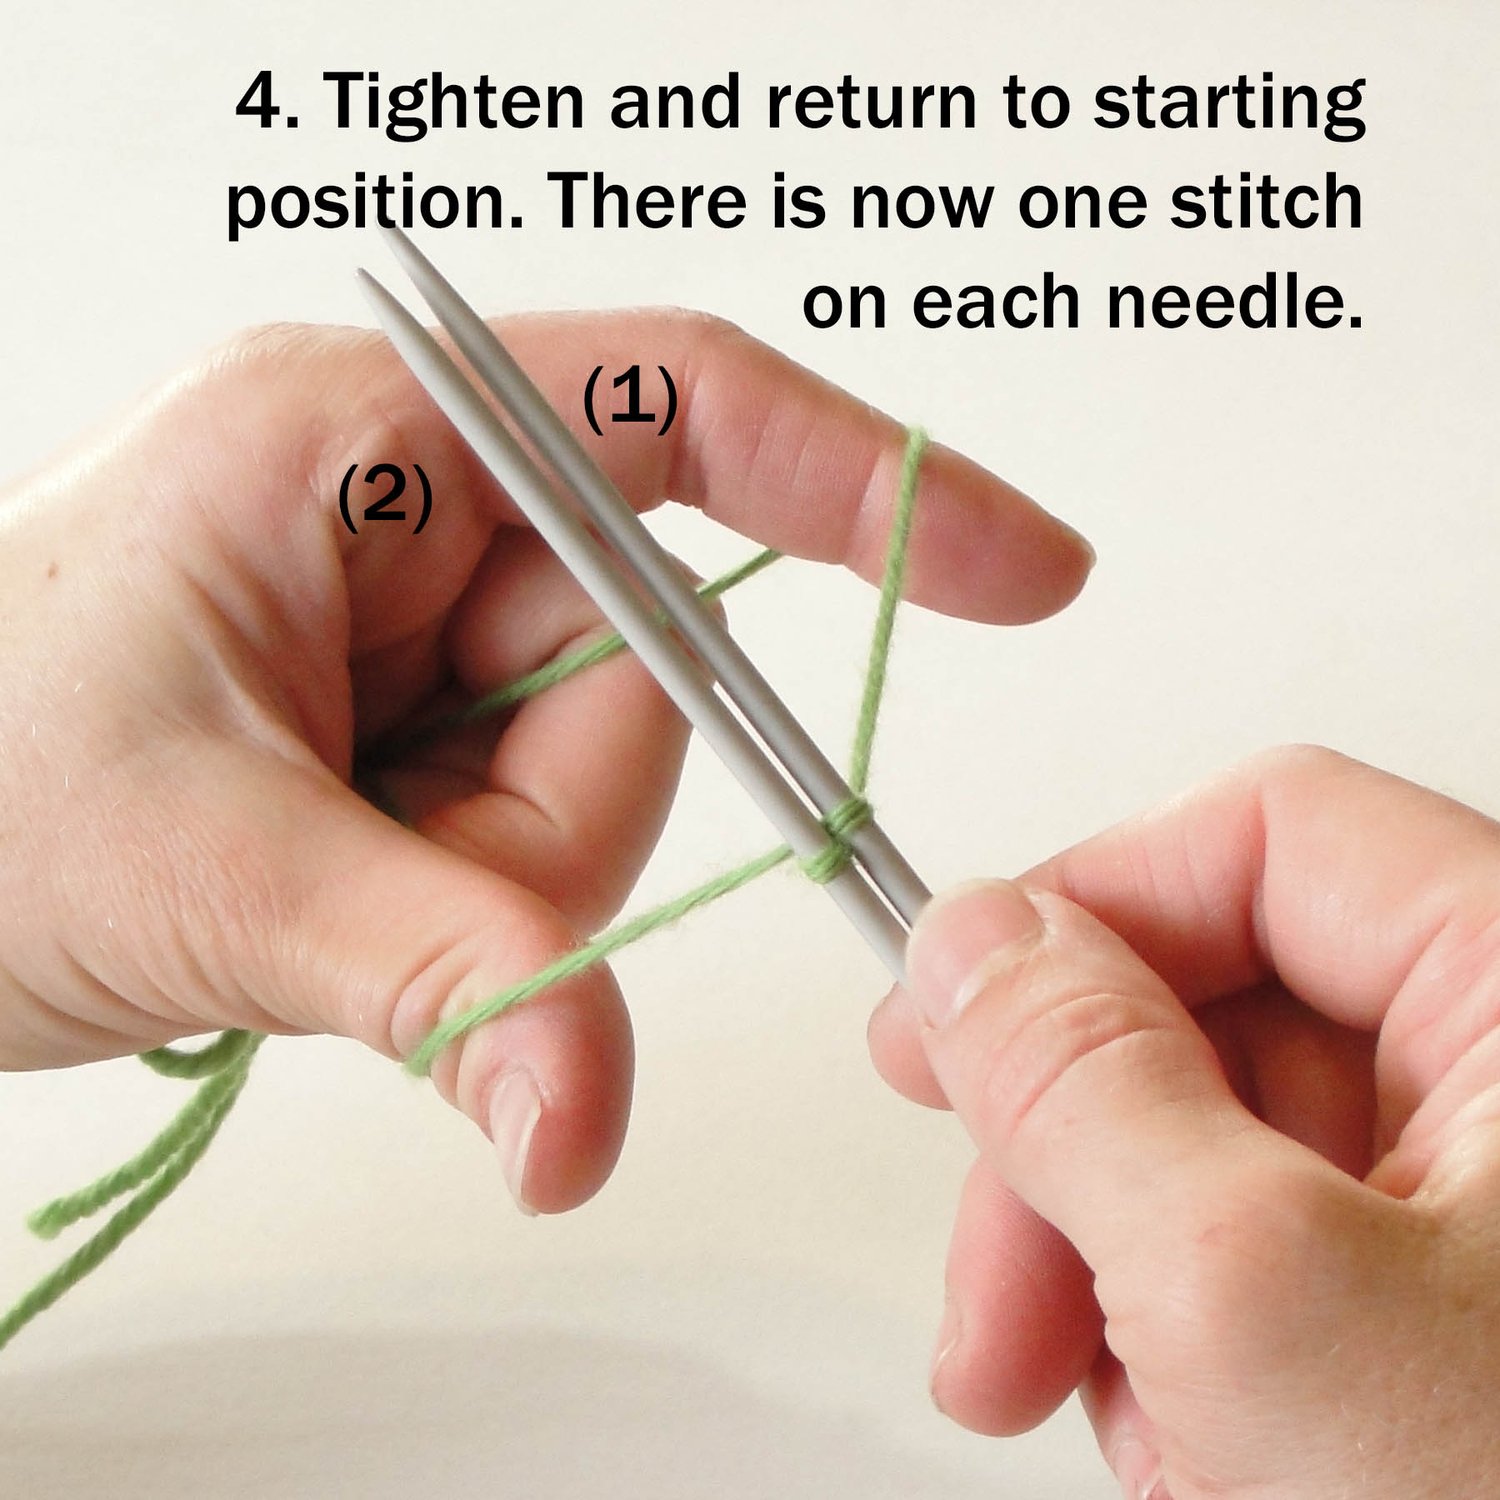
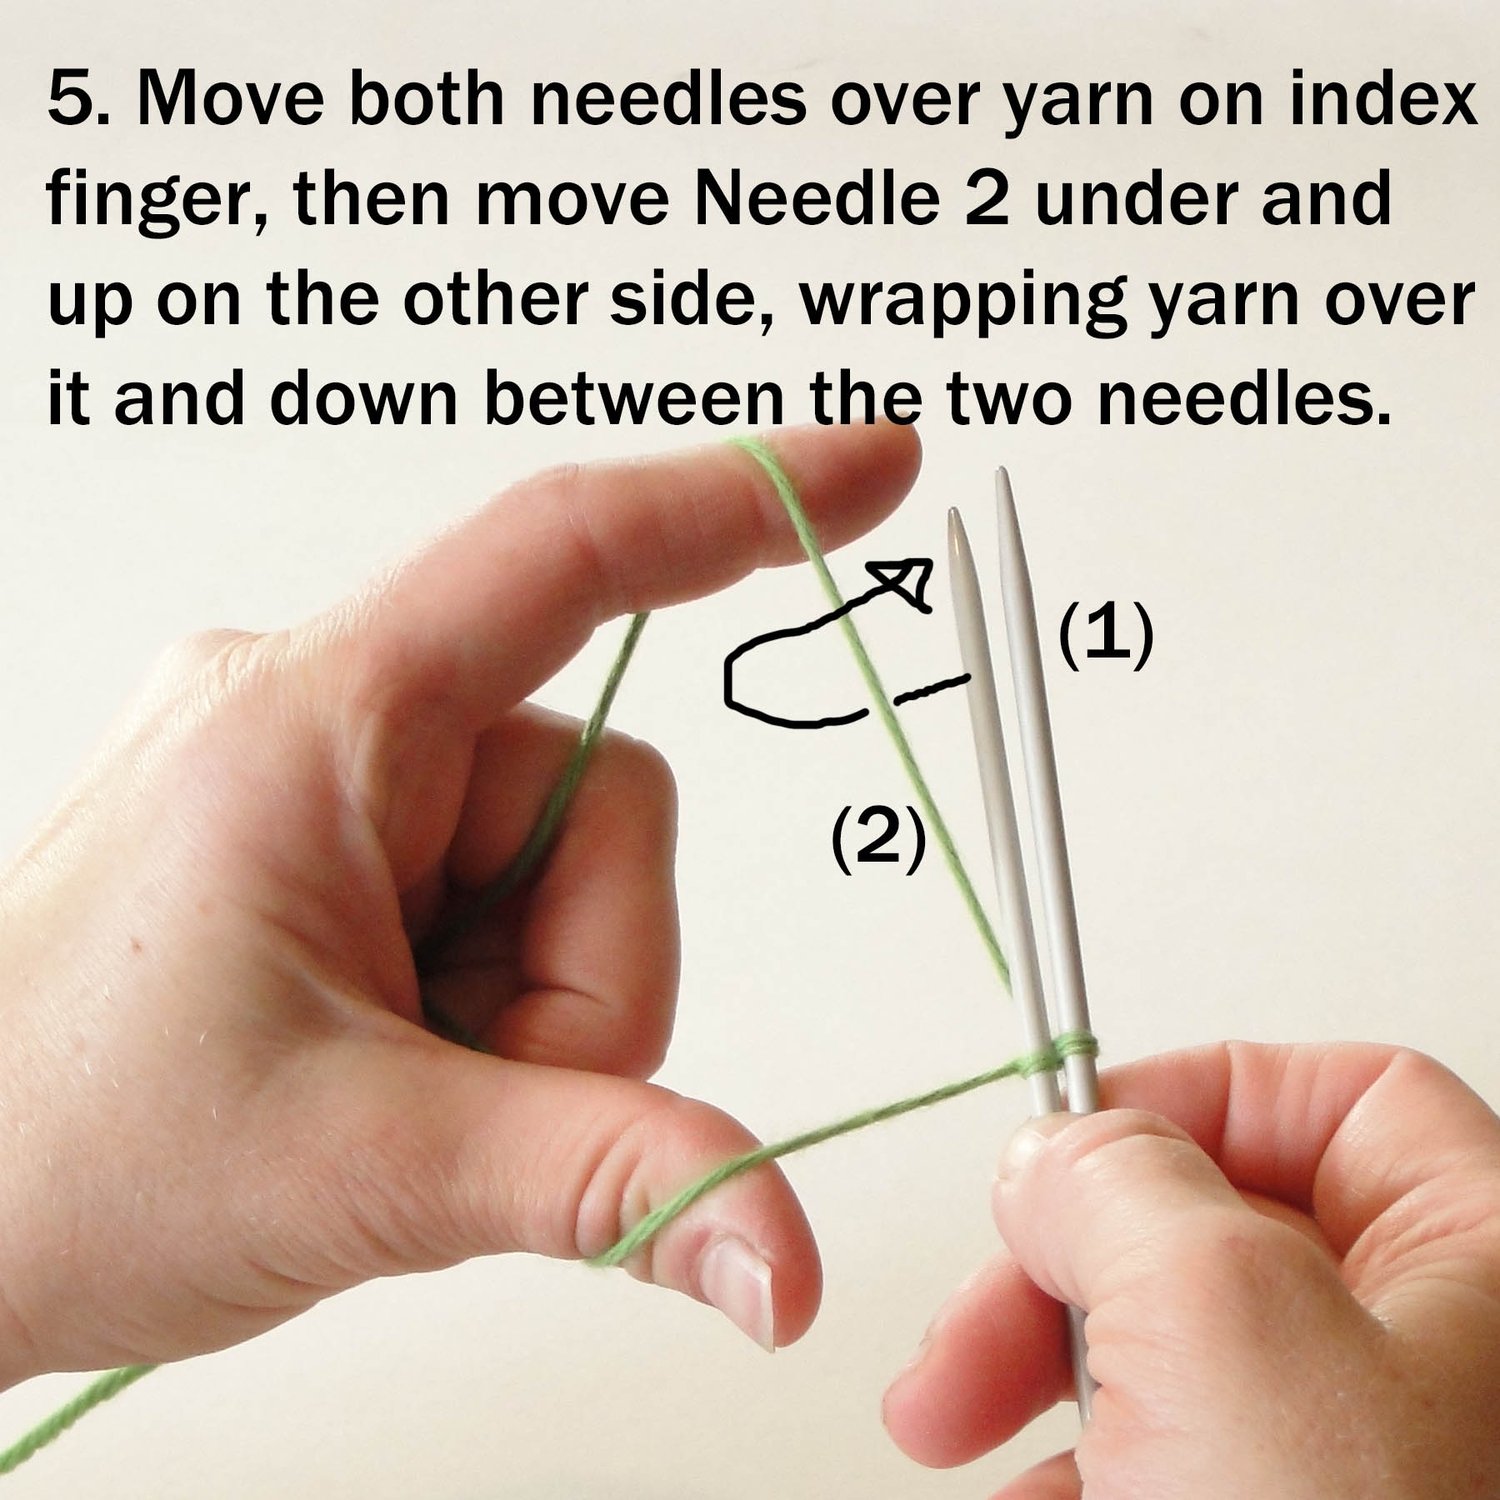
- A comprehensive list of links to online tutorials on my website for necessary skills. Tutorials are screen-reader accessible, with instructions relayed fully in text, and also include videos and downloadable photo tutorials.
- Full glossary
- Texture chart and fully written instructions
Publishing Information
Release Date: October 24, 2024
Most recent revision: n/a
Publisher: My Secret Wish Publishing
Knitting pattern type: Single Design Option
Project type: Socks
Page Count (standard PDF): 7
Page Count (Large Print PDF): 36
ISBN (Standard PDF): 978-1-998164-09-7
ISBN (Large Print PDF): 978-1-998164-10-3
ISBN (EPUB): 978-1-998164-11-0
COPYRIGHT AND LICENSING NOTICE:
This pattern is copyright My Secret Wish Publishing. Your purchase of this pattern gives you the right to use it for personal, non-profit use only. To license the pattern to use for profit, please e-mail me for permission. You do NOT have the right to print the pattern for other people (unless they reside in your household) or to transfer the digital file to any other person. This pattern may not be sold, copied, or distributed in any way.
Update History
No updates yet.
