Binding Off
Learn how to finish your knitting project by binding off (also known as casting off).
Adapted from How to Knit Lesson Eleven. Get the complete tutorial at the link below.

Learn how to finish your knitting project by binding off (also known as casting off).
Adapted from How to Knit Lesson Eleven. Get the complete tutorial at the link below.
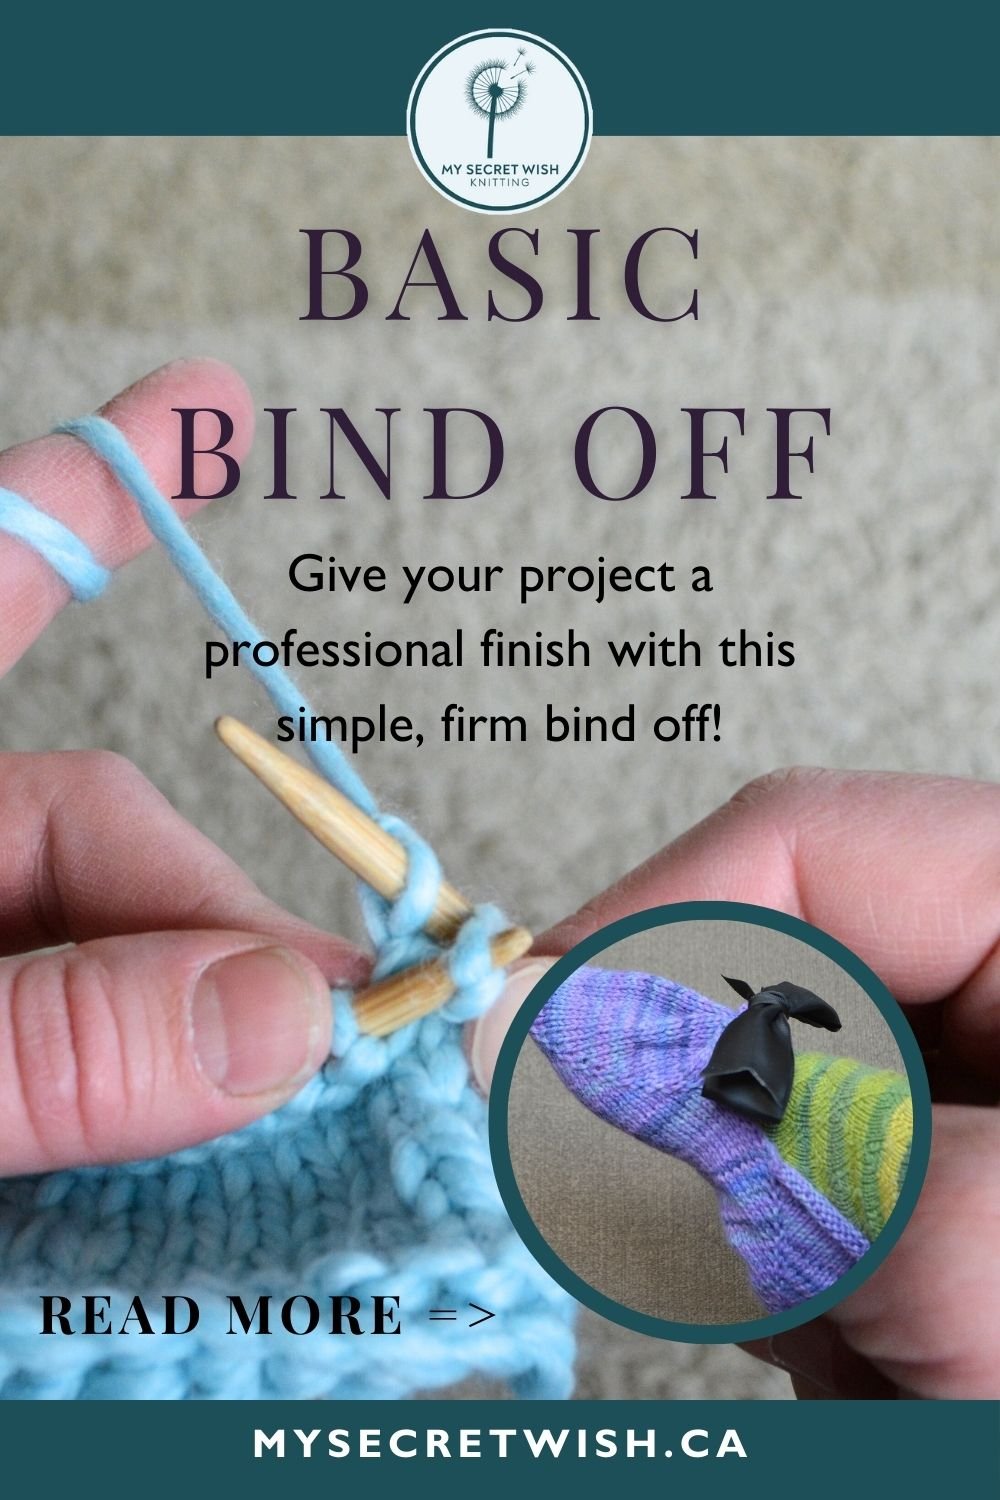
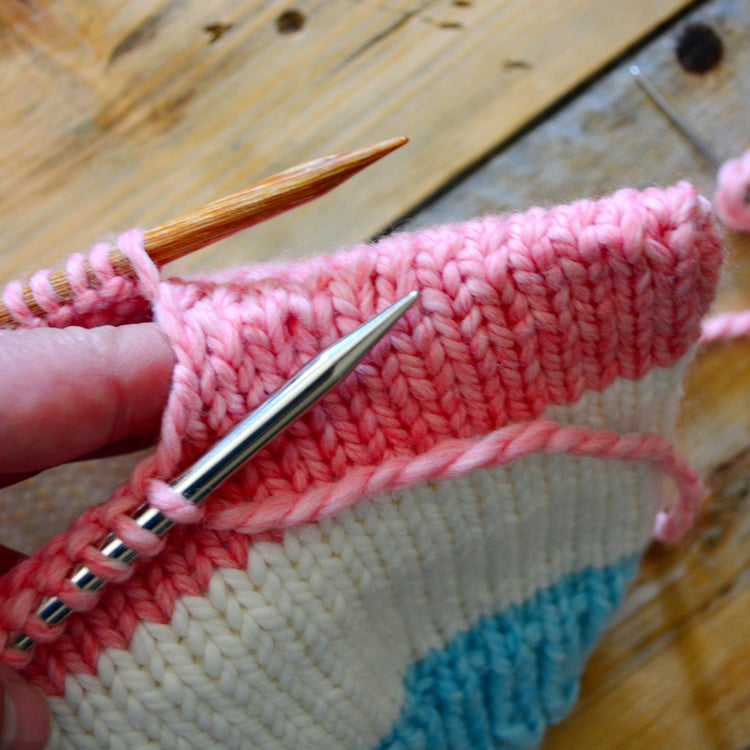
Binding off (also known as casting off) simply means closing off stitches so they are no longer being worked and won’t run or ravel. There are as many ways to bind off as to cast on, each best suited to a specific type of edge. As you progress, you will want to learn bind offs specific to the type of projects you’re working on. For now, let’s start you with the most versatile—Basic Bind Off.
Like cast ons, it can be very easy to make the bind off too tight. You will know this has happened if the bound-off edge pulls in from the rest of the piece or does not stretch to the capacity it ought. If this is the case, you must take out the bound-off edge and try again.
Note: Use your browser’s Back button to return to this page after exploring these bind offs.
Characteristics: Firm, non-stretchy
Good for: Shoulders, places where structure and stability are required such as the edges of shawls or dishcloths.
An excellent beginner bind off.
As you progress, you’ll want to add some other ways to cast off stitches to your toolkit. Here are some of my favourites:
Characteristics: An invisible way to join two sets of live stitches together.
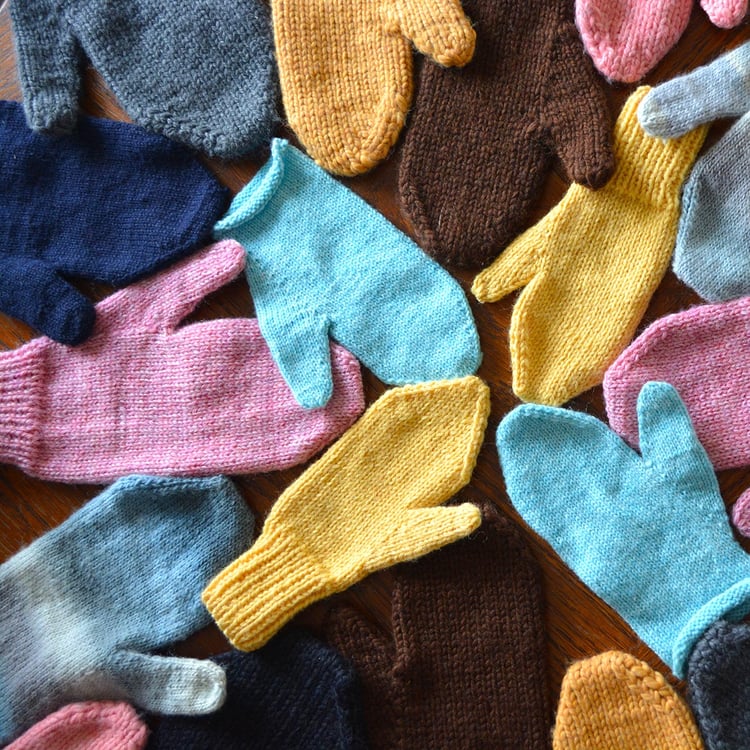
Good for: Grafted shoulders, the top of a hood, mitten tops, sock toes, or anywhere that live stitches need to be joined.
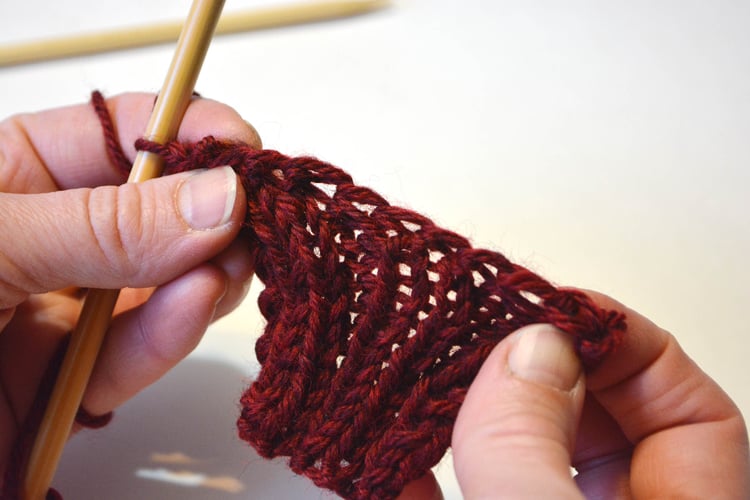
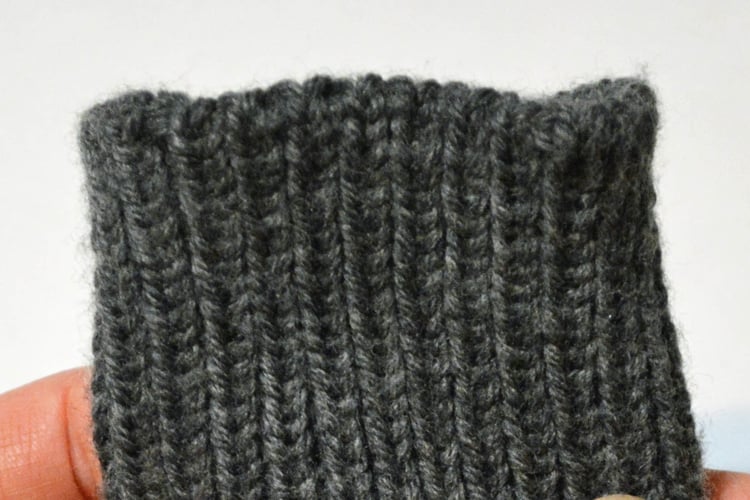
Characteristics: Finishes a one-by-one ribbed edge with a chainette look that provides plenty of stretch.
Good for: Fingerless mitten tops, mitten and sock cuffs, necks finished in the round, or any edge that needs plenty of stretch, especially if it will be rolled under and sewn.
Characteristics: Finishes a knit one, purl one ribbed edge invisibly with the same amount of stretch as the fabric.
Good for: Any knit one, purl one ribbed edge that will be visible on the finished garment, such as necklines and cuffs.
The bind off you choose will depend on the type of fabric you’re working with.
As a first project, it’s best to work on a gauge swatch, which is small and gives you a chance to practice without pressure. When you’re ready to bind off, do so using Basic Bind Off. Then go back to “Making a Gauge Swatch” and use that as a guide to count how many rows and columns you have in four inches (10 centimetres).
This is your gauge. If it’s different than the project you’ve selected, you should adjust your needle sizes and make another gauge swatch to test again. (To save yarn, you can unravel your first one and use that same yarn.)
Before beginning a project, you should always check your gauge. If you don’t match the designer’s gauge, your garment won’t fit properly.
Go on to “Finishing” to learn how to give your project a professional polish.
Return to How to Knit index:

Hi! I’m Talena Winters (a.k.a. the Yarn Mermaid).
I started My Secret Wish Knitting in 2010 to empower and delight knitting heroes like you who want to elevate your knitting and make magic with yarn. When I’m not concocting new yarn potion recipes, I’m creating story magic as a fantasy and romance author and fiction editor (at talenawinters.com). I live with my family and pets in the Peace Country of northern Alberta, Canada, where sweater weather lasts at least nine months a year and my closest neighbours are bears and wood nymphs.
This website is a labour of love by a team of one (me!). If you found value here, please support the effort by purchasing a pattern. If you want more knitting magic, check out my community events and newsletter in the Knitting Circle. We’d love to have you!