Flatter your feet with a perfect fit!
These cozy fast-finish slippers use basic stitches, short-row shaping, and a forgiving gauge for a project that will practically fly off the needles and onto your feet. A drawstring bow causes the simple shape to hug the feet, keeping them toasty while creating a very flattering fit.
Knitting flat, cast on at the cuff, shape the heel and toe with short rows, and finish with an eyelet row for weaving a ribbon through to gather the excess fabric. With two sizes to choose from, the grace in the amount of ease make these slippers a wonderful project for beginners who want to build their skills. Choose a sturdy worsted- or bulky-weight yarn and cast this quick and easy project on today!
PROJECT LEVEL: Easy
—
Digital download includes:
- PDF (standard) - best for printing or for sighted knitters
Refer to “Accessibility” below for more information about file types.
About Design
Construction
Slippers are cast on at the ankle, with short rows to shape the heel and toe, then finished with a row of eyelets for the laces a few rows before the bind off.
Sizes
- Ladies’ Small (US shoe size 5 to 8)
- Ladies’ Large (US shoe size 8.5 to 12)
Supplies & Gauge
Bulky Version
Yarn
2 balls bulky-weight yarn with 101 metres in 100 grams (or 110 yards in 3.53 ounces).
Approximate yardages: 103 (118) metres [or 112 (128) yards].
Needles
- 6.0 mm (US 10) straight needles
- Optional for I-cord finish: two short double-pointed needles in the same size.
Notions
- Yarn needle
- Several scraps of yarn for markers.
- 4-foot (or 1.3-metre) ribbon or narrow fabric scrap finished with hem, Fray Stop, or pinking shears for ties.
Gauge
Gauge for this pattern is flexible.
14 to 16 stitches and 21 to 24 rows = 4 inches (or 10 cm) on larger needles over stockinette stitch knit flat.
Worsted Version:
Yarn
1 ball worsted-weight yarn with 198 metres in 100 grams (or 220 yards in 3.53 ounces).
Approximate yardages: 114 (131) metres [or 128 (146) yards].
Needles
- 5.0 mm (US 8) straight needles
- Optional for I-cord finish: two short double-pointed needles in the same size.
Notions
- Yarn needle
- Several scraps of yarn for markers.
- 4-foot (or 1.3-metre) ribbon or narrow fabric scrap finished with hem, Fray Stop, or pinking shears for ties.
Gauge
Gauge for this pattern is flexible.
20 to 22 stitches and 28 to 30 rows = 4 inches (or 10 cm) on smaller needles over stockinette stitch knit flat.
About Samples
Green:
Patons North America Shetland Chunky, a plied 75% Acrylic and 25% wool bulky-weight yarn with 135 metres (148 yards) in 100 grams (3.53 ounces) that knits up to 15 stitches over 4 inches (or 10 cm) on size 6.0 mm (US 10) needles. Discontinued.
- Colourway: Sage Green
- Size: Ladies Large
Blue:
Cascade Yarns Ecological Wool, a plied 100% wool bulky-weight yarn with 437 metres (478 yards) in 250 grams (8.82 ounces) that knits up to 14 to 16 stitches over 4 inches (or 10 cm) on size 5.5 to 6.0 mm (US 9 to 10) needles.
- Colourway: Periwinkle
- Size: Ladies Large
Dark Purple:
Knit Picks Biggo, a plied 50% merino and 50% nylon bulky-weight yarn with 101 metres (110 yards) in 100 grams (3.53 ounces) that knits up to 12 to 15 stitches over 4 inches (or 10 cm) on 6.0 to 8.0 mm (US 10 to 11) needles. Discontinued.
- Colourway: Duchess Heather
- Size: Ladies Large
Variegated Purple:
Knit Picks Wool of the Andes Tonal, a plied 50% merino and 50% Corriedale wool worsted-weight yarn with 201 metres (220 yards) in 100 grams (3.53 ounces) that knits up to 18 to 20 stitches over 4 inches (or 10 cm) on size US 6 to 9 (4.0 to 5.5 mm) needles.
- Colourway: Blue Violet Tonal
- Size: Ladies Large
Techniques & Resources
Skills you will need:
All other required stitches are explained.
Techniques used:
Included resources:
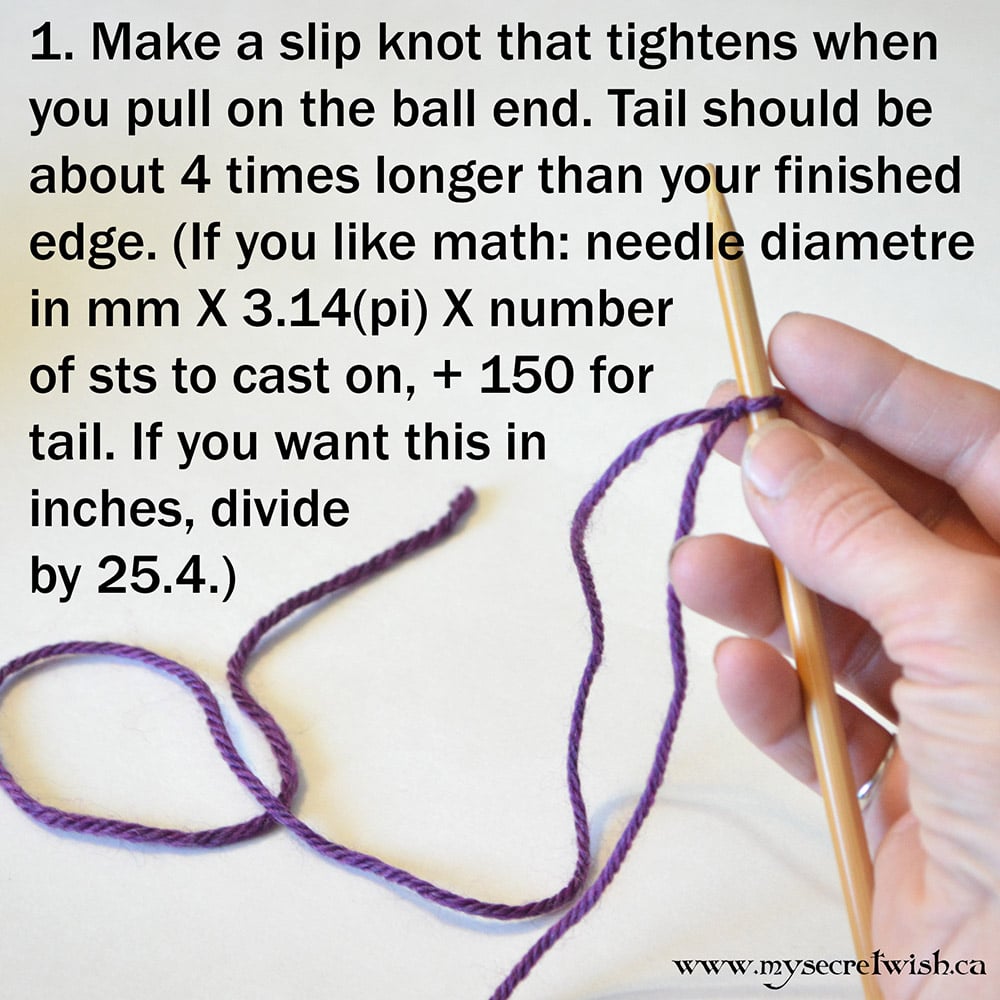
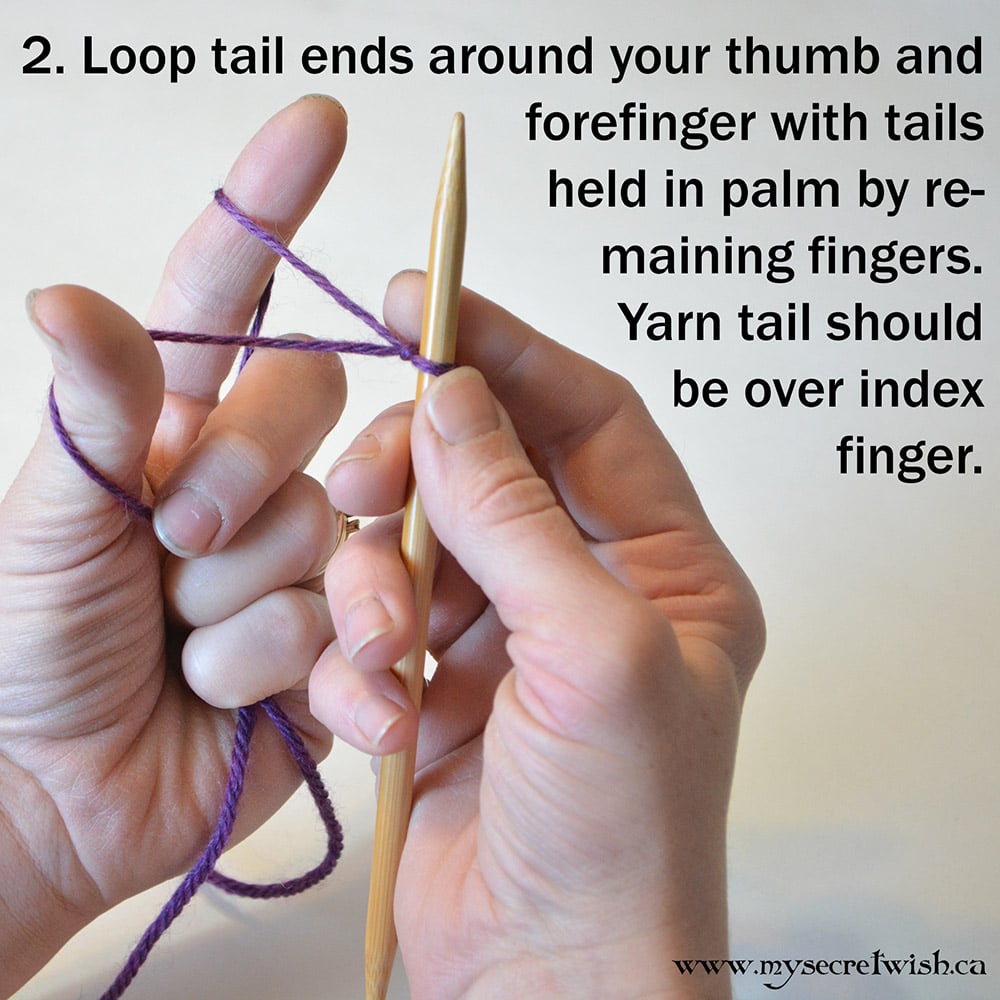
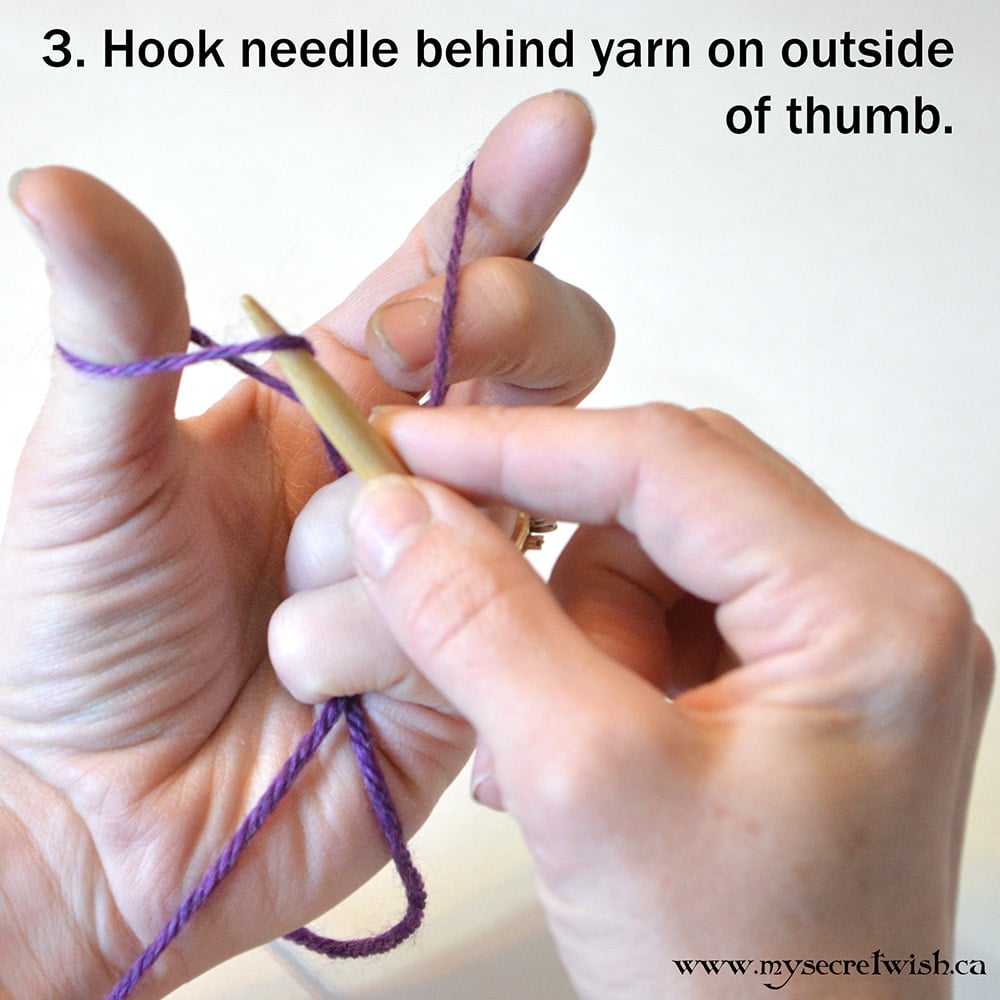
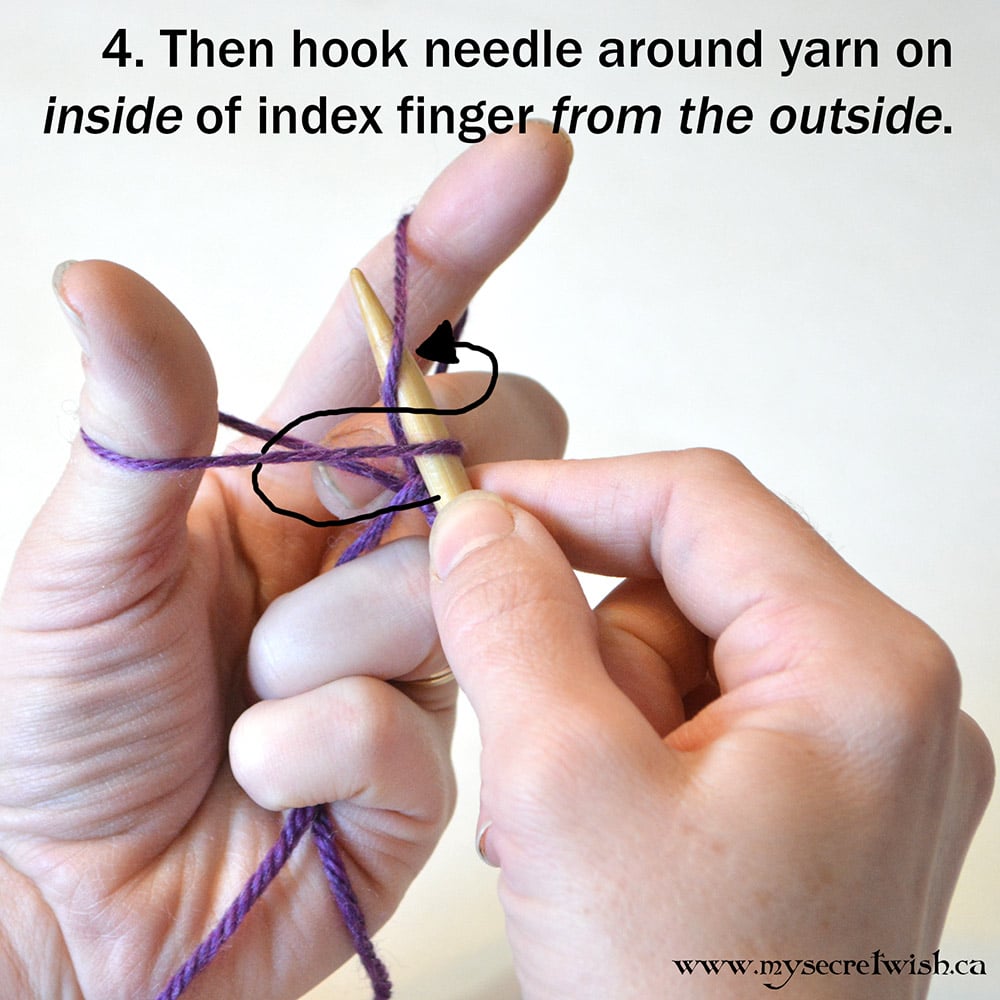
- A comprehensive list of links to online tutorials on my website for necessary skills. Tutorials are screen-reader accessible, with instructions relayed fully in text, and also include videos and downloadable photo tutorials.
- Full glossary
- Alteration instructions included.
Publishing Information
Release Date: 2010
Most recent revision: 2023
Publisher: My Secret Wish Publishing
Knitting pattern type: Single Design Option; Multiple Yarn Weight Options
Project type: Slippers
Page Count: 7
COPYRIGHT AND LICENSING NOTICE:
This pattern is copyright My Secret Wish by Talena. Your purchase of this pattern gives you the right to use it for personal, non-profit use only. To license the pattern to use for profit, please e-mail me for permission. You do NOT have the right to print the pattern for other people (unless they reside in your household) or to transfer the digital file to any other person. This pattern may not be sold, copied, or distributed in any way.
Update History
2019:
- Created a worsted option. (Originally only bulky.)
- Revised language and formatting to be clearer and easier to follow.
May 25, 2023:
- Revised formatting of PDF to align with current template style. Clarified and simplified language where necessary. Reduced abbreviations to minimal amount. Converted PDF to be screen reader accessible.
- Updated URLs for new store and social links.


