Knit love in every stitch.
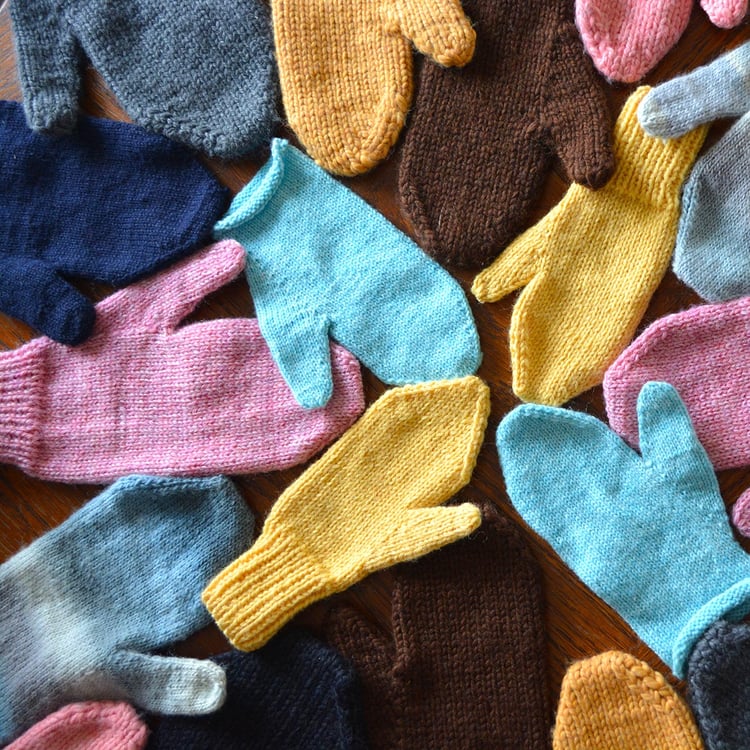
These hand-specific gusset-style mittens might seem to be the height of basic—ribbed cuff in two length variations and stockinette hand, knit in the round from the cuff down—but they come loaded with options. The pattern is written in three yarn weights (bulky, worsted, and fingering) and six different sizes from Toddler up to Adult Extra-Large. The fingering weight can also be made up as liners to really bring on the cozy!
Make these even more interesting by using them as a base for your favourite colour charts. Just Plain Mittens? Just plain awesome!
Bonus Fleece Liner: If you want the warmth of two layers but don't want to take the time to knit up the fingering weight liners, use the included fast-finish sewn fleece liner pattern to double it up!
PROJECT LEVEL: Easy
—
Digital download includes:
- PDF (standard) - best for printing or for sighted knitters
- PDF (Screen Reader Accessible Large-Print) - best for Print Challenged knitters and reading on phones
- EPUB (eBook) - best for anyone who wants reflowable, resizable text
- PDF (standard) of Sewn Liner Patterns
Refer to “Accessibility” below for more information about file types.
Printing Instructions: When printing the sewn liner patterns, choose the “Print Actual Size” option in your print dialogue box to make sure they are sized accurately.
About Collection
Just Plain Collection
Fast, fun, and easy. The Just Plain Collection is the perfect way for you to unleash your creativity.
Sized to include everyone, knitting patterns in this collection are written for multiple yarn weights (fingering, worsted, and bulky)*, with each weight written separately. As such, they are excellent starting points to create cozy garments and accessories when used as written, or as blank canvases so you can apply your own creativity.
Get started on the Just Plain Collection today!
* Except for the Just Plain Socks patterns, which are written for any size but only designed for fingering-weight yarn.
About Design
Construction
Mittens are worked from the cuff down with a thumb gusset, raglan finger shaping finished seamlessly with Kitchener stitch (grafting), and finished with the thumb, which is picked up and worked in the round.
Variants
- Instructions for three yarn weights: bulky, worsted, and fingering.
- Can be lined or unlined.
- Cuff can be long or short.
- Liners can be knit from fingering-weight yarn or sewn from fleece.
Sizes
This garment has no ease, and it is better to round up than down. The following measurements are the circumference above the thumb. It is best to have a tracing of the recipients’ hand as well as the hand circumference to size accurately.
- Toddler: 5.5 inches (or 14 cm)
- Child: 6.5 inches (or 16.5 cm)
- Junior & Adult Small: 7.5 inches (or 19 cm)
- Adult Medium: 8.5 inches (or 21.5 cm)
- Adult Large: 9.5 inches (or 24 cm)
- Adult Extra-Large: 10.5 inches (or 26.5 cm)
Supplies & Gauge
Bulky Weight
Yarn
1 (1, 1, 2, 2, 2) balls plied bulky-weight yarn with 125 metres in 100 grams (or 137 yards in 3.53 ounces).
Approximate yardages: 67 (95, 122, 152, 174, 197) yards [or 61 (87, 112, 139, 159, 180) metres].
(I used Knit Picks Wool of the Andes Superwash Bulky. Some sample photos show Knit Picks Biggo, which has been discontinued.)
Needles
Set of four 5.0 mm (US 8, UK 6) double-pointed needles (or, optionally, two circular needles of this size or one very long circular needle for Magic Loop Method instead) OR size needed to obtain gauge.
Notions
Yarn needle; several stitch markers.
Gauge
20 stitches and 26 rounds = 4 inches (or 10 cm) over stockinette stich in the round.
Worsted Weight
Yarn
1 (2, 2, 2, 2, 3) balls worsted-weight yarn with 99 metres in 50 grams (or 110 yards in 1.76 ounces).
Approximate yardages: 82 (116, 150, 187, 214, 242) yards [or 75 (107, 137, 171, 196, 221) metres].
(I used Knit Picks Wool of the Andes Superwash.)
Needles
Set of four 4.0 mm (US 6, UK 8) double-pointed needles (or, optionally, two circular needles of this size or one very long circular needle for Magic Loop Method instead) OR size needed to obtain gauge.
Notions
Yarn needle; several stitch markers.
Gauge
22 stitches and 32 rows = 4 inches (or 10 cm) over stockinette stich in the round. TAKE TIME TO CHECK YOUR GAUGE!
Fingering Weight (Shell or Liner)
Yarn
Fingering-weight yarn with 207.9 metres in 50 grams (or 231 yards in 1.76 ounces).
SHELL: 1 (1, 1, 1, 2, 2) balls.
Approximate yardages: 95 (135, 187, 216, 247, 280) yards [or 87 (123, 171, 198, 226, 255) metres]. (I used Knit Picks Chroma.)
LINER: 1 (1, 1, 1, 1, 2) balls.
Approximate yardages: 85 (121, 167, 213, 221, 250) yards [or 77 (110, 153, 195, 202, 229) metres]. (I used Knit Picks Stroll.)
Needles
Set of four 3.25 mm (US 3, UK 10) double-pointed needles (or, optionally, two circular needles of this size or one very long circular needle for Magic Loop Method instead) OR size needed to obtain gauge.
Notions
Yarn needle; several stitch markers.
Gauge
30 stitches and 44 rows = 4 inches (or 10 cm) over stockinette stich in the round.
Fleece Lining (Optional)
- Scrap of polar or arctic fleece at least 12 inches long and 30 inches wide (or 30 centimetres long and 75 centimetres wide). The stretch needs to be in the width of the fabric.)
- Thread
- Sewing needle
About Samples
Bulky Yellow, Dark Grey, and Brown:
Knit Picks Biggo, a plied 50% Superwash merino wool and 50% Nylon bulky-weight yarn with 101 metres in 100 grams (or 110 yards in 3.53 ounces) that works up to 12 to 15 stitches in four inches (or ten centimetres) on 6.0 to 8.0 mm (US 10 to 11) needles over stockinette stitch knit flat.
- Colourway: Golden Heather; Size: 2 (Child).
- Colourway: Cobblestone Heather; Size: 4 (Adult Medium).
- Colourway: Reindeer Heather; Size: 2 (Child).
This yarn has been discontinued. As of 2025, this pattern has been redesigned and tested for the yarn below.
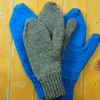
Bulky Green and Dark Teal:
Knit Picks Wool of the Andes Superwash Bulky, a plied 100% Highland Superwash wool yarn with 125 metres in 100 grams (or 137 yards in 3.53 ounces) that works up to 12 to 15 stitches in 4 inches (or 10 cm) on 6 to 8 mm (US 10 to 11 or UK 4 to 0) needles in stockinette stitch knit flat.
- Colourway: Bamboo Heather; Size: 2 (Child).
- Colourway: Marina; Size: 3 (Junior & Adult Small).
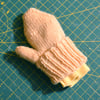
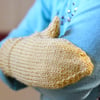
Worsted Yellow:
Knit Picks Wool of the Andes Superwash Worsted, a plied 100% Superwash merino wool with 101 metres in 50 grams (or 110 yards in 1.76 ounces) that works up to 18 to 20 stitches on 4.0 to 5.5 mm (US 6 to 9) needles over stockinette stitch flat.
- Size: 2 (Child).
- Colourway: Creme Brulee.
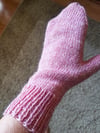
Worsted Pink:
Knit Picks Wool of the Andes Superwash Worsted.
- Size: 3 (Ladies).
- Colourway: Dogwood Heather.
Fingering Blue Gradient:
Knit Picks Chroma Fingering, a single-ply 70% wool & 30% nylon fingering-weight yarn with 362 metres in 100 grams (or 396 yards in 3.53 ounces) that works up to 28 to 32 stitches in four inches (or ten centimetres) on 2.25 to 3.0 mm (US 1 to 2 1/2) needles over stockinette stitch knit flat.
- Size: 3 (Ladies).
- Colourway: Avalon.
Fingering Turquoise Liners:
Knit Picks Stroll Fingering, a plied 75% Superwash merino wool & 25% nylon fingering-weight yarn with 211 metres in 50 grams (231 yards in 1.76 ounces) that works up to 28 to 32 stitches in four inches (or ten centimetres) on 2.25 to 3.25 mm (US 1 to 3) needles over stockinette stitch knit flat.
- Size: 2 (Child).
- Colourway: Wonderland Heather.
Techniques & Resources
Skills you will need:
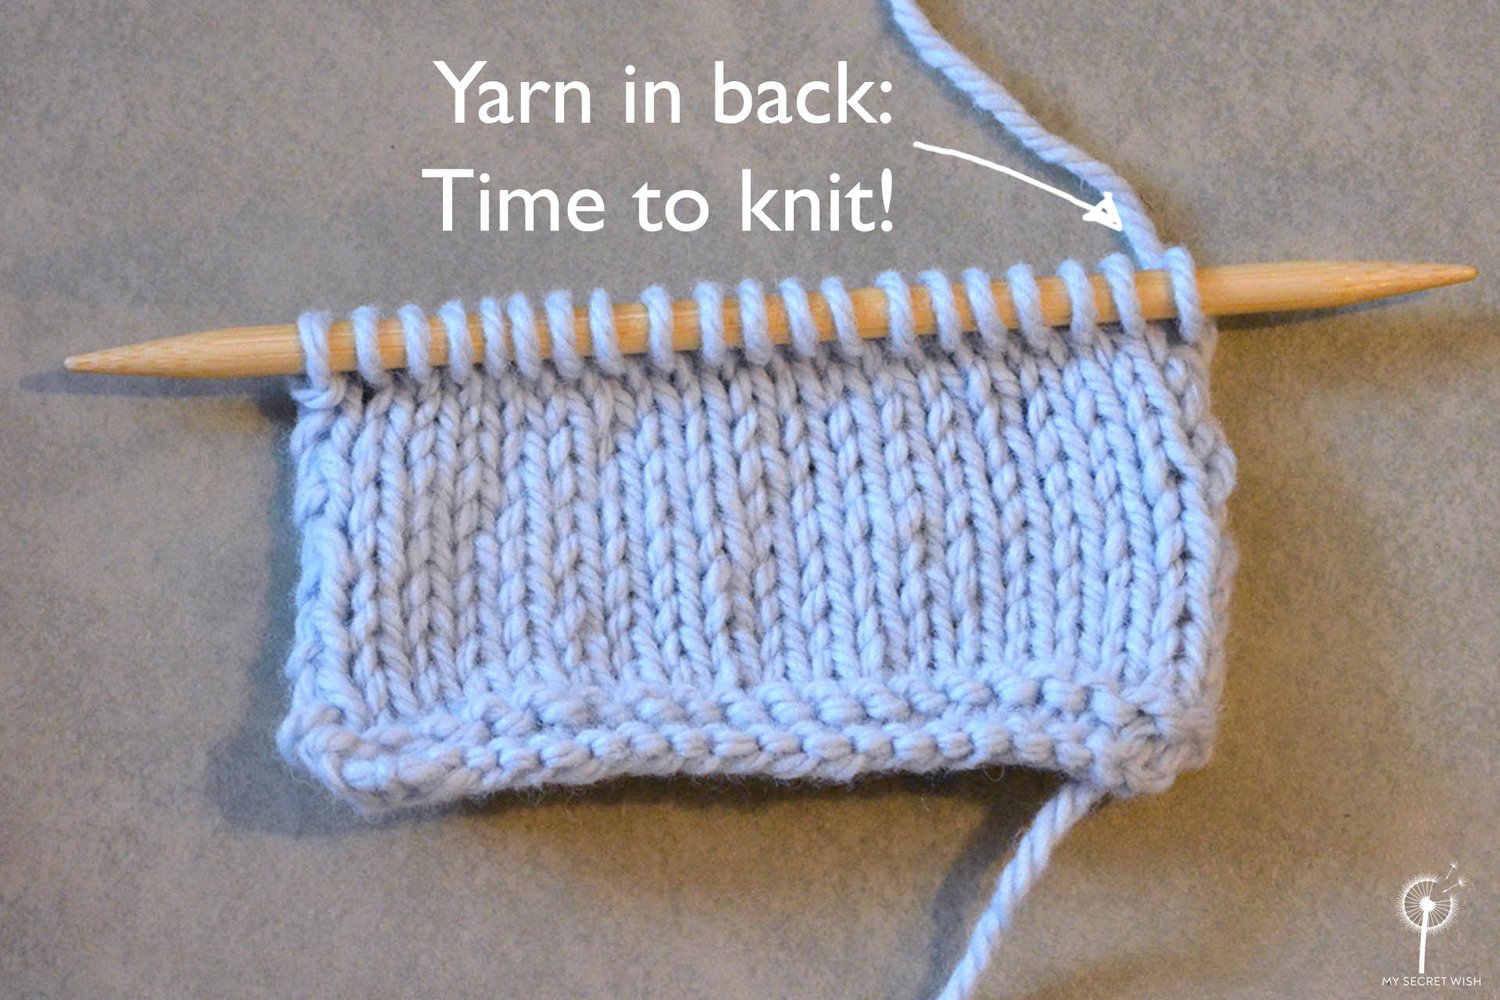
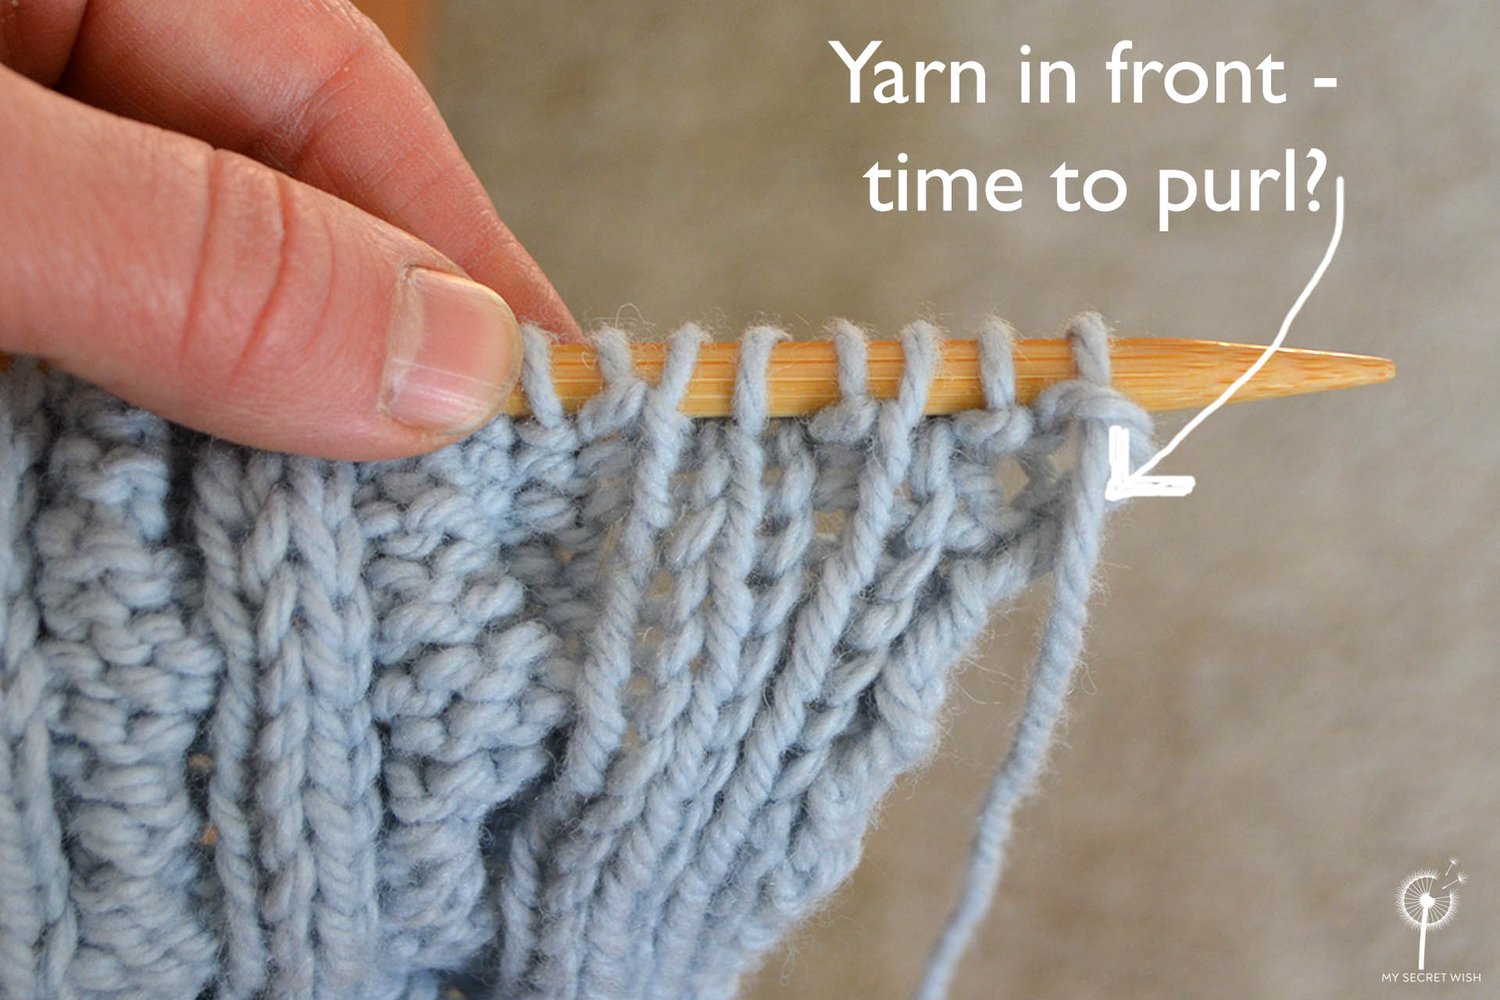
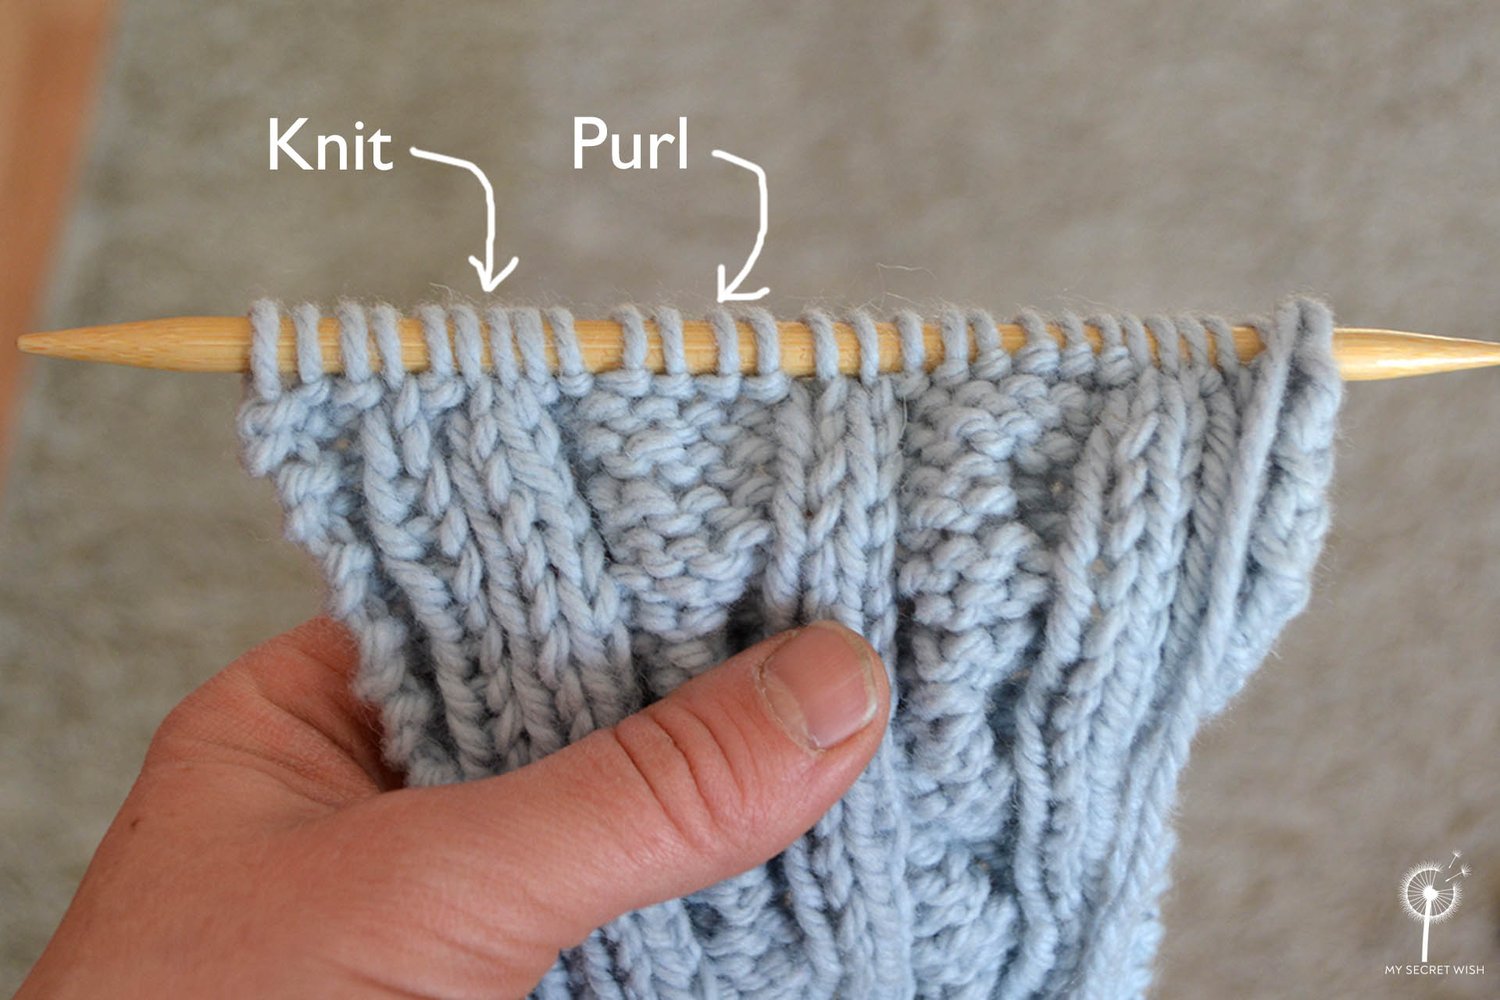
- Knit
- Purl
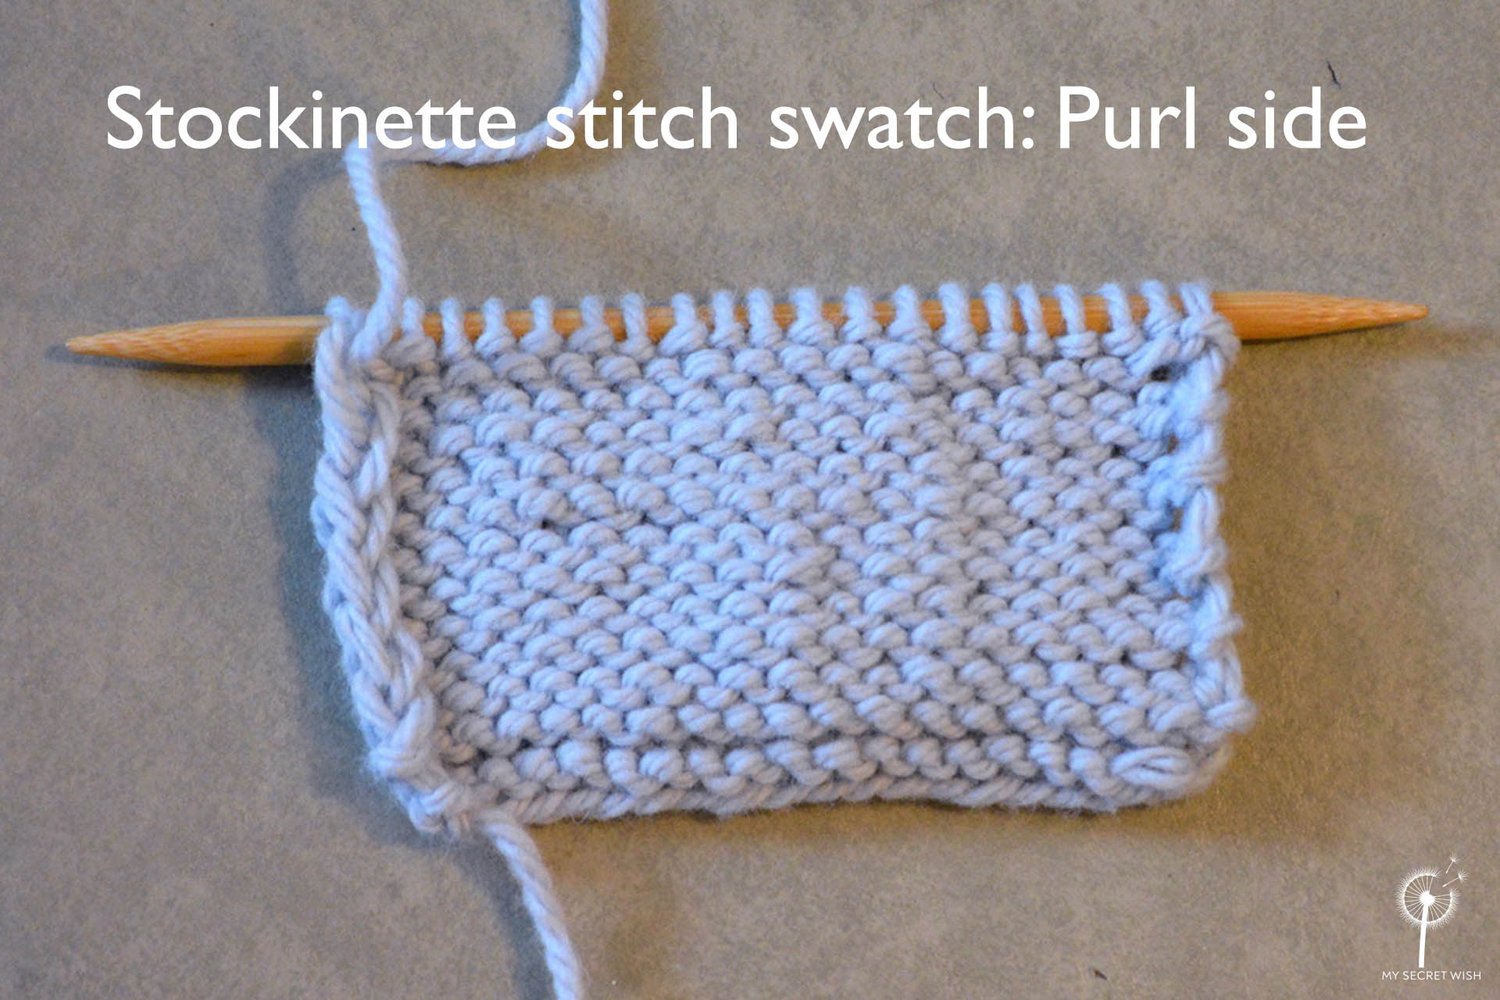
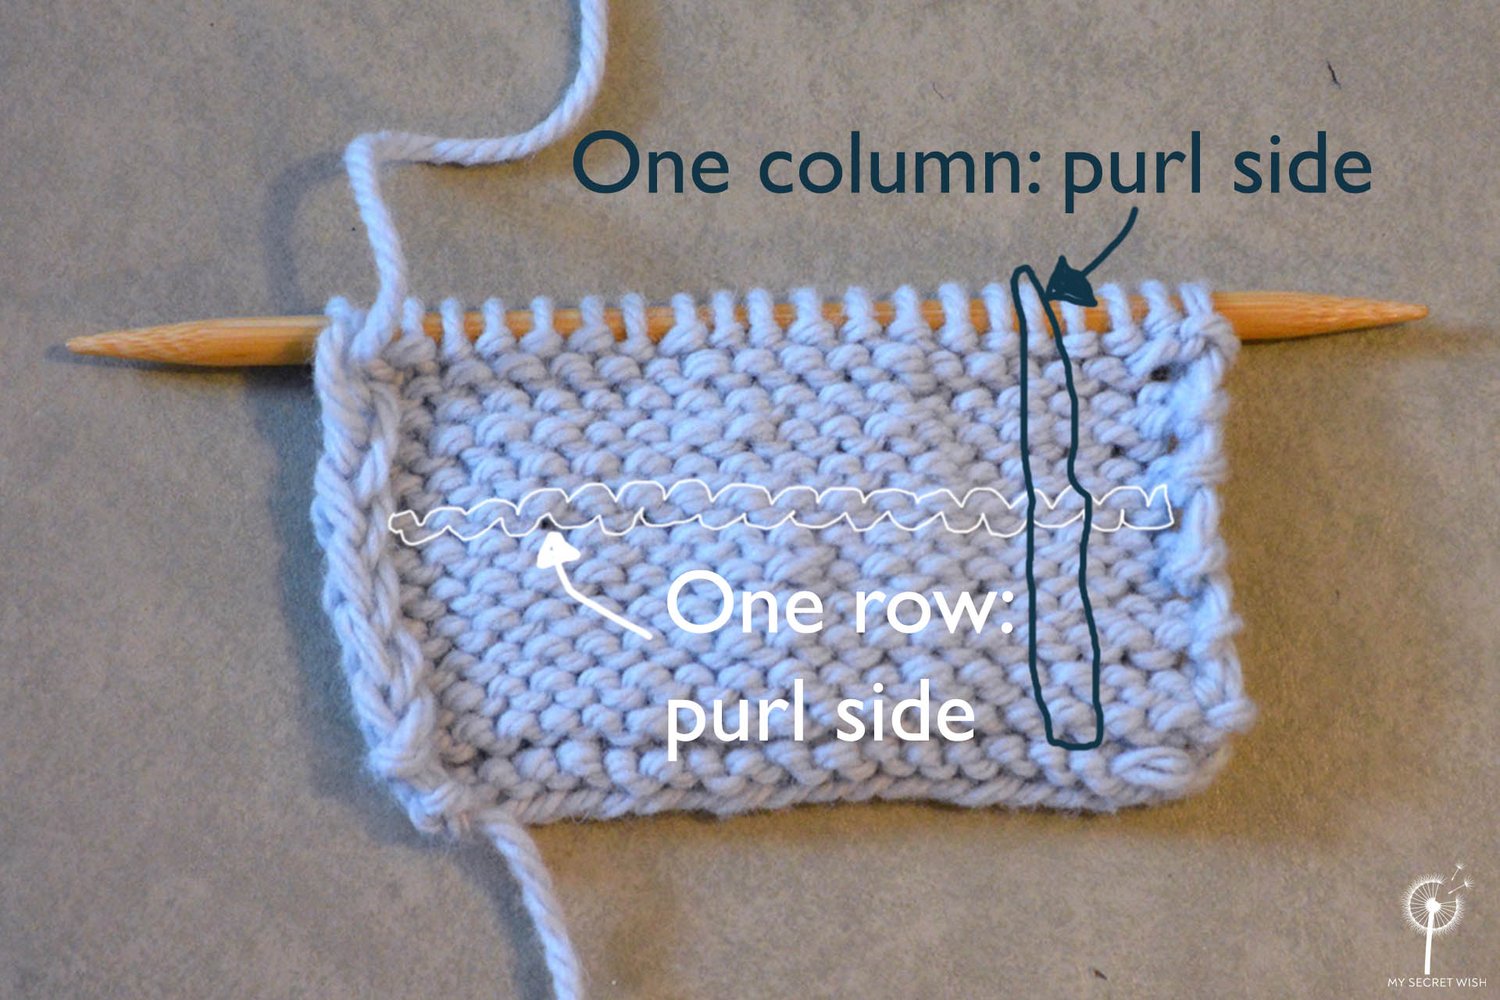
- Make a gauge swatch in stockinette stitch
All other required stitches are explained.
Techniques used:
Included resources:
- A comprehensive list of links to online tutorials on my website for necessary skills. Tutorials are screen-reader accessible, with instructions relayed fully in text, and also include videos and downloadable photo tutorials.
- Schematic
- Garment measurements
- Full glossary
- Instructions for alterations
- Sewing patterns for fleece liners in every size
- Photographic and written instructions for sewing fleece liners
Publishing Information
Version: 2
Release Date: 2016, 2025
Publisher: My Secret Wish Publishing
Knitting pattern type: Multiple Yarn Weight Options; Multiple Design Options; Multi-Pattern Set
Project type: Mittens with optional mitten liners
Page Count (Standard PDF): 20
Page Count (Large Print PDF): 75
Page Count (Sewn Liner Patterns PDF): 12
ISBN (Standard PDF): 978-1-989800-57-7
ISBN (Large Print PDF): 978-1-989800-58-4
ISBN (ePUB): 978-1-989800-56-0
COPYRIGHT AND LICENSING NOTICE:
This pattern is copyright My Secret Wish by Talena. Your purchase of this pattern gives you the right to use it for personal, non-profit use only. To license the pattern to use for profit, please e-mail me for permission. You do NOT have the right to print the pattern for other people (unless they reside in your household) or to transfer the digital file to any other person. This pattern may not be sold, copied, or distributed in any way.
Update History
First published in 2016.
2025-02-01:
- Redesigned Bulky Weight version to use Knit Picks Wool of the Andes Superwash Bulky yarn.
- Redesigned thumbs to be straight instead of tapered.
- Added schematic.
- Tech edited.
- Added pattern graphics for sewn liners.
- Added one size (Adult Extra Large - 10.5" circ.).