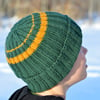
Set sail with this classic ribbed Watchman’s Cap.
A Killick is another name for the rank of Leading Seaman in many Commonwealth navies. It’s also derived from the Old German word for anchor—the perfect description for this sailor-style beanie. As an advanced beginner project, this brim-up knit hat will be an anchor for many knitting skills to come.
Two-by-two ribbing knit in the round makes for a super-stretchy and forgiving hat design. A long rolled brim and raglan-style decreases create the shaping for clean lines. Whether you’re just starting out, or you’re simply looking for something quick-and-easy to knit, this watchman’s cap will soon be a “go-to” toque pattern in your arsenal. Get creative with stripe placements and yarn to make it uniquely yours!
PROJECT LEVEL: Easy
—
Digital download includes:
- PDF (standard) - best for printing or for sighted knitters
- PDF (Screen Reader Accessible Large-Print) - best for Print Challenged knitters and reading on phones
- EPUB (eBook) - best for anyone who wants reflowable, resizable text
Refer to “Accessibility” below for more information about file types.
About Design
Construction
Hat is worked in the round from the bottom up.
Sizes
The age designations are an estimate. Dimensions are the head circumference, not the finished garment. See “Altering the Pattern” under Notes.
- Small (Toddler & Child): 16.5 to 19 inches (or 42 to 48 cm)
- Medium (Child & Youth): 18.5 to 21.5 inches (or 47 to 54.5 cm)
- Large (Adult): 20.5 to 25 inches (or 52 to 63.5 cm)
Instructions for adjusting crown heights are also given.
Supplies
Yarn
SOLID-COLOURED VERSION:
1 (2, 2) balls worsted-weight yarn with 101 metres in 50 grams (or 110 yards in 1.76 ounces)
STRIPED VERSION:
Colour A: 1 (1, 2) balls worsted-weight yarn with 101 metres in 50 grams (or 110 yards in 1.76 ounces)
Colour B: 1 (1, 1) ball worsted-weight yarn (only small portion needed)
Approximate total yardages: 84 (120, 168) metres [or 92 (130, 183) yards]
Needles
- 4.5 mm (US 7) double-pointed needles OR size needed to obtain gauge
- Optional alternative: Circular needle of the same size if you prefer to use Magic Loop or Two Circulars method
Notions
- Yarn needle
- Six stitch markers
Gauge
20 stitches and 30 rows = 4 inches (or 10 cm) square over stockinette stitch knit flat.
About Samples
Solid Grey Hat:
Knit Picks Wool of the Andes Worsted, a worsted-weight plied 100% Peruvian Highland Wool that works up to 18 to 20 stitches over 4 inches (10 cm) on size 4.0 to 5.5 mm (US size 6 to 9) needles.
- Colourway: Onyx Heather
- Size: Large
Striped Brown Hat:
Knit Picks Wool of the Andes Worsted
- Colourways: Amber Heather and Rooibos
- Size: Small
Striped Green Hat:
Knit Picks Swish Worsted, a worsted-weight plied 100% merino Superwash wool with the same gauge, weight, and yardage as Wool of the Andes.
- Colourways: Jade and Turmeric
- Size: Medium
Striped Yellow Hat:
Patons Classic Wool Worsted, a worsted-weight plied 100% wool with 192 metres in 100 grams (or 210 yards in 3.72 ounces) that works up to 20 stitches over 4 inches (or 10 cm) on size 4.0 mm to 5.0 mm (US size 6 to 8) needles.
- Colourways: Sunset Gold and Mercury
- Size: Large
Techniques & Resources
Skills you will need:
All other stitches required are explained.
Techniques used:
Included resources:
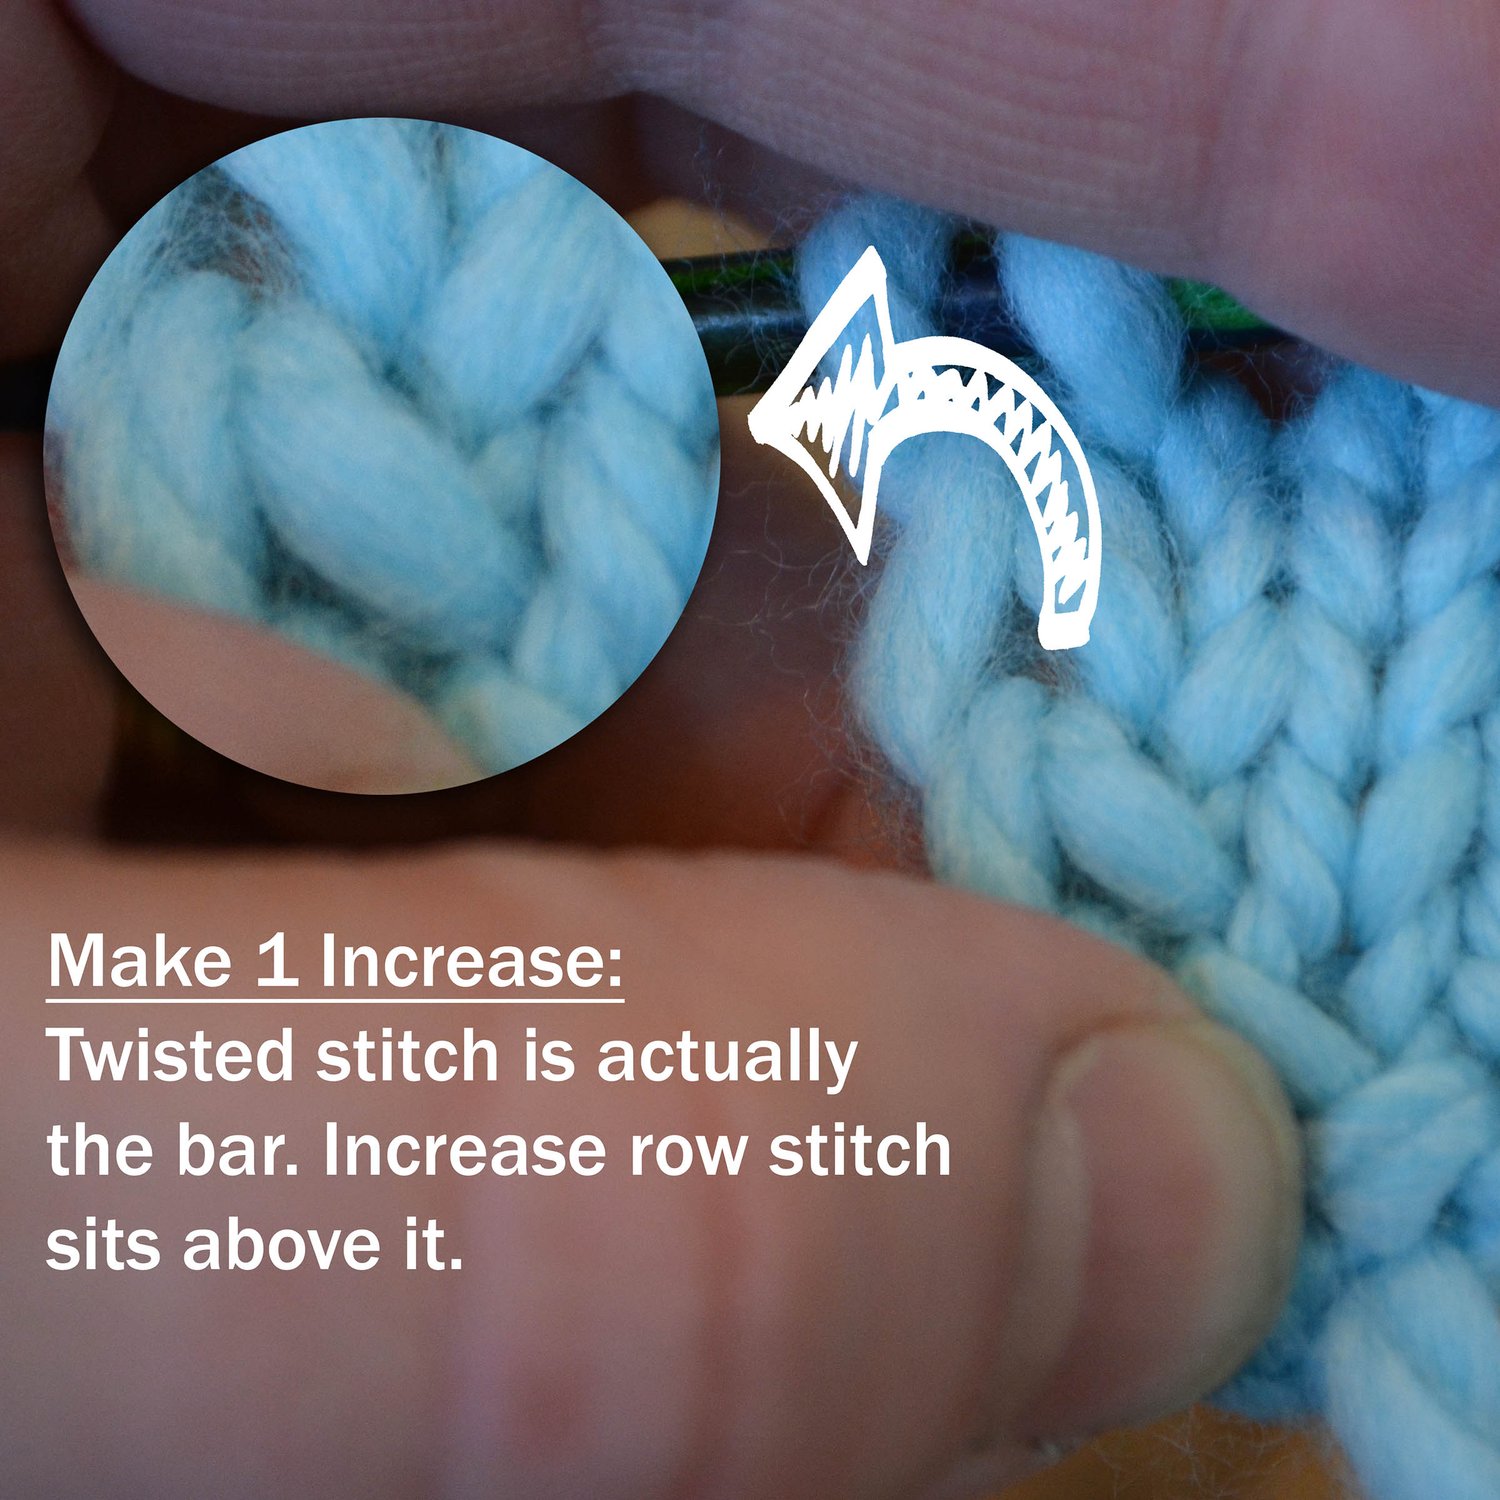
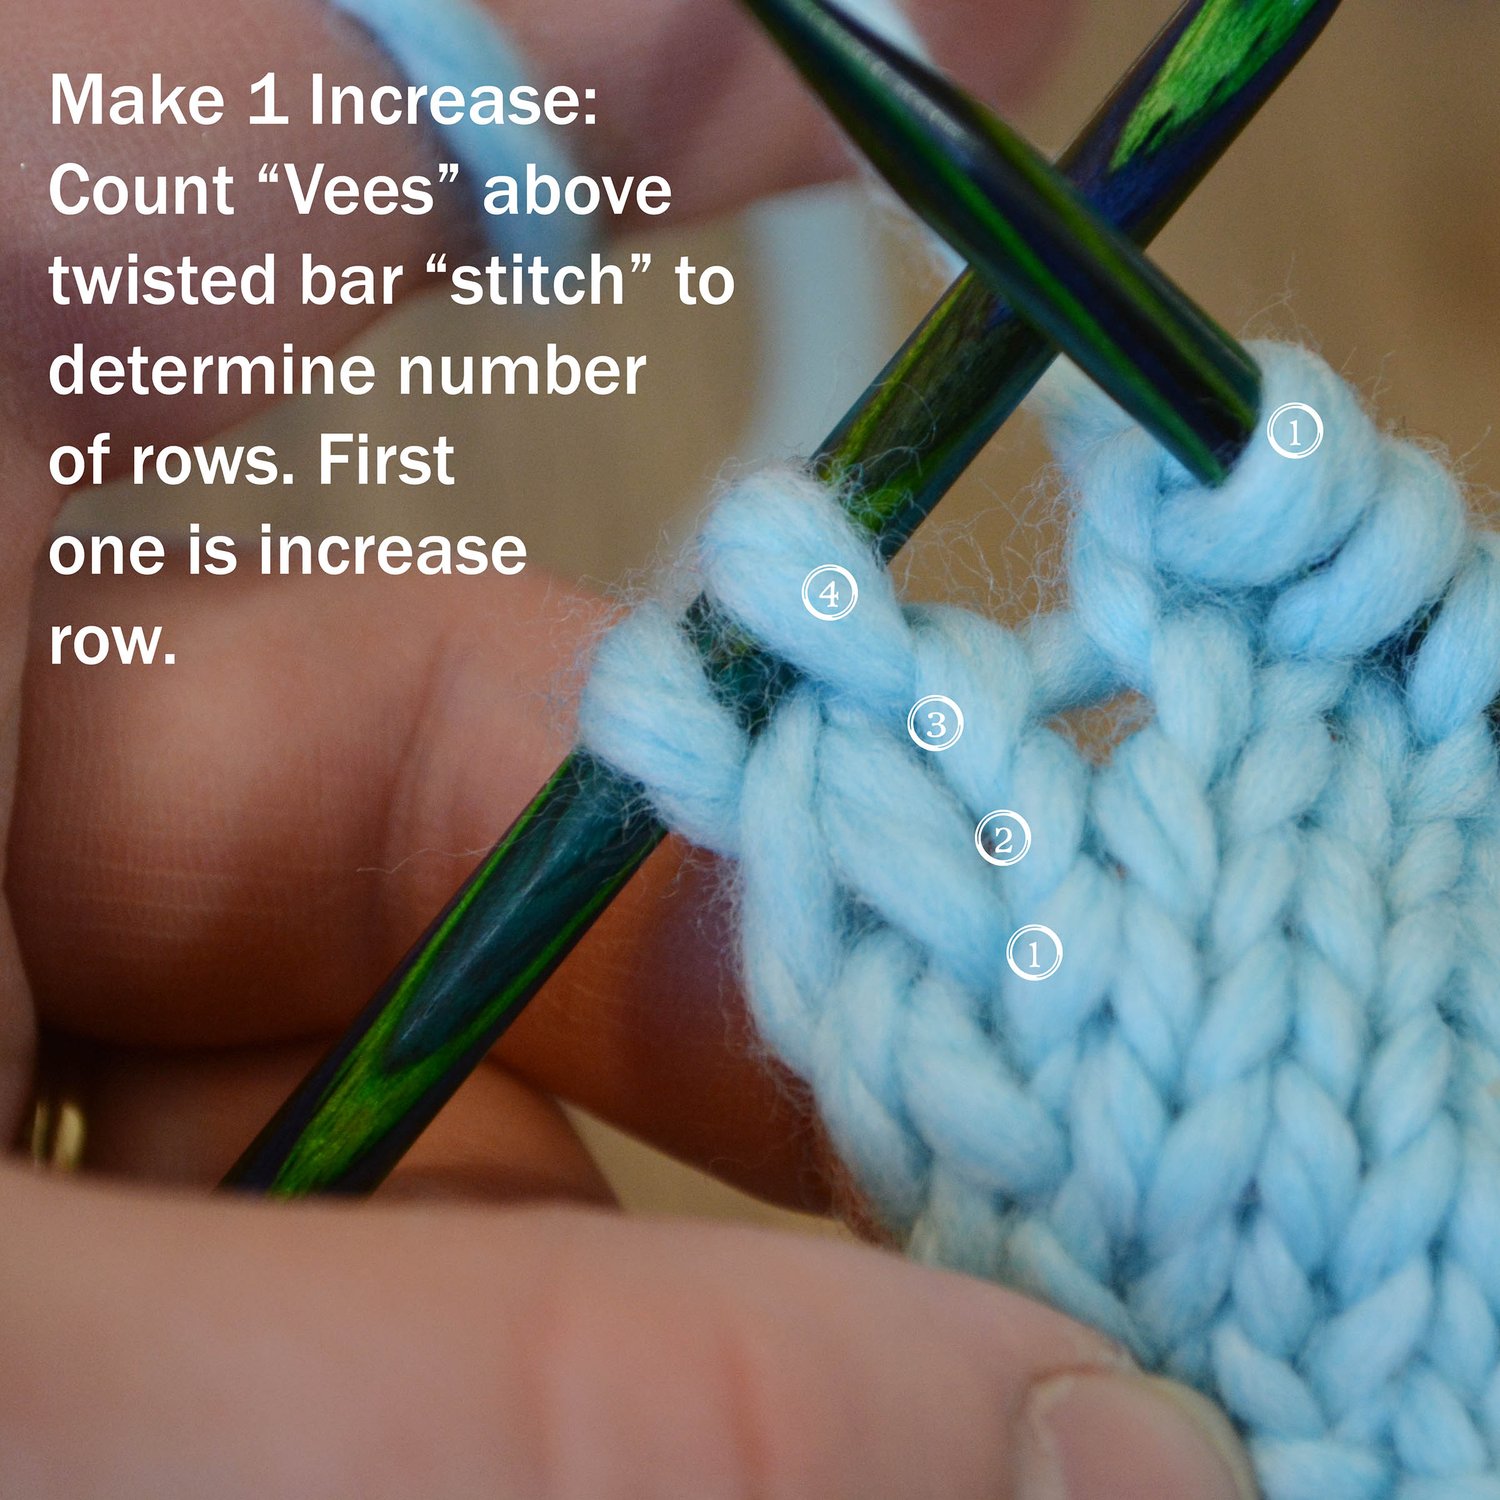
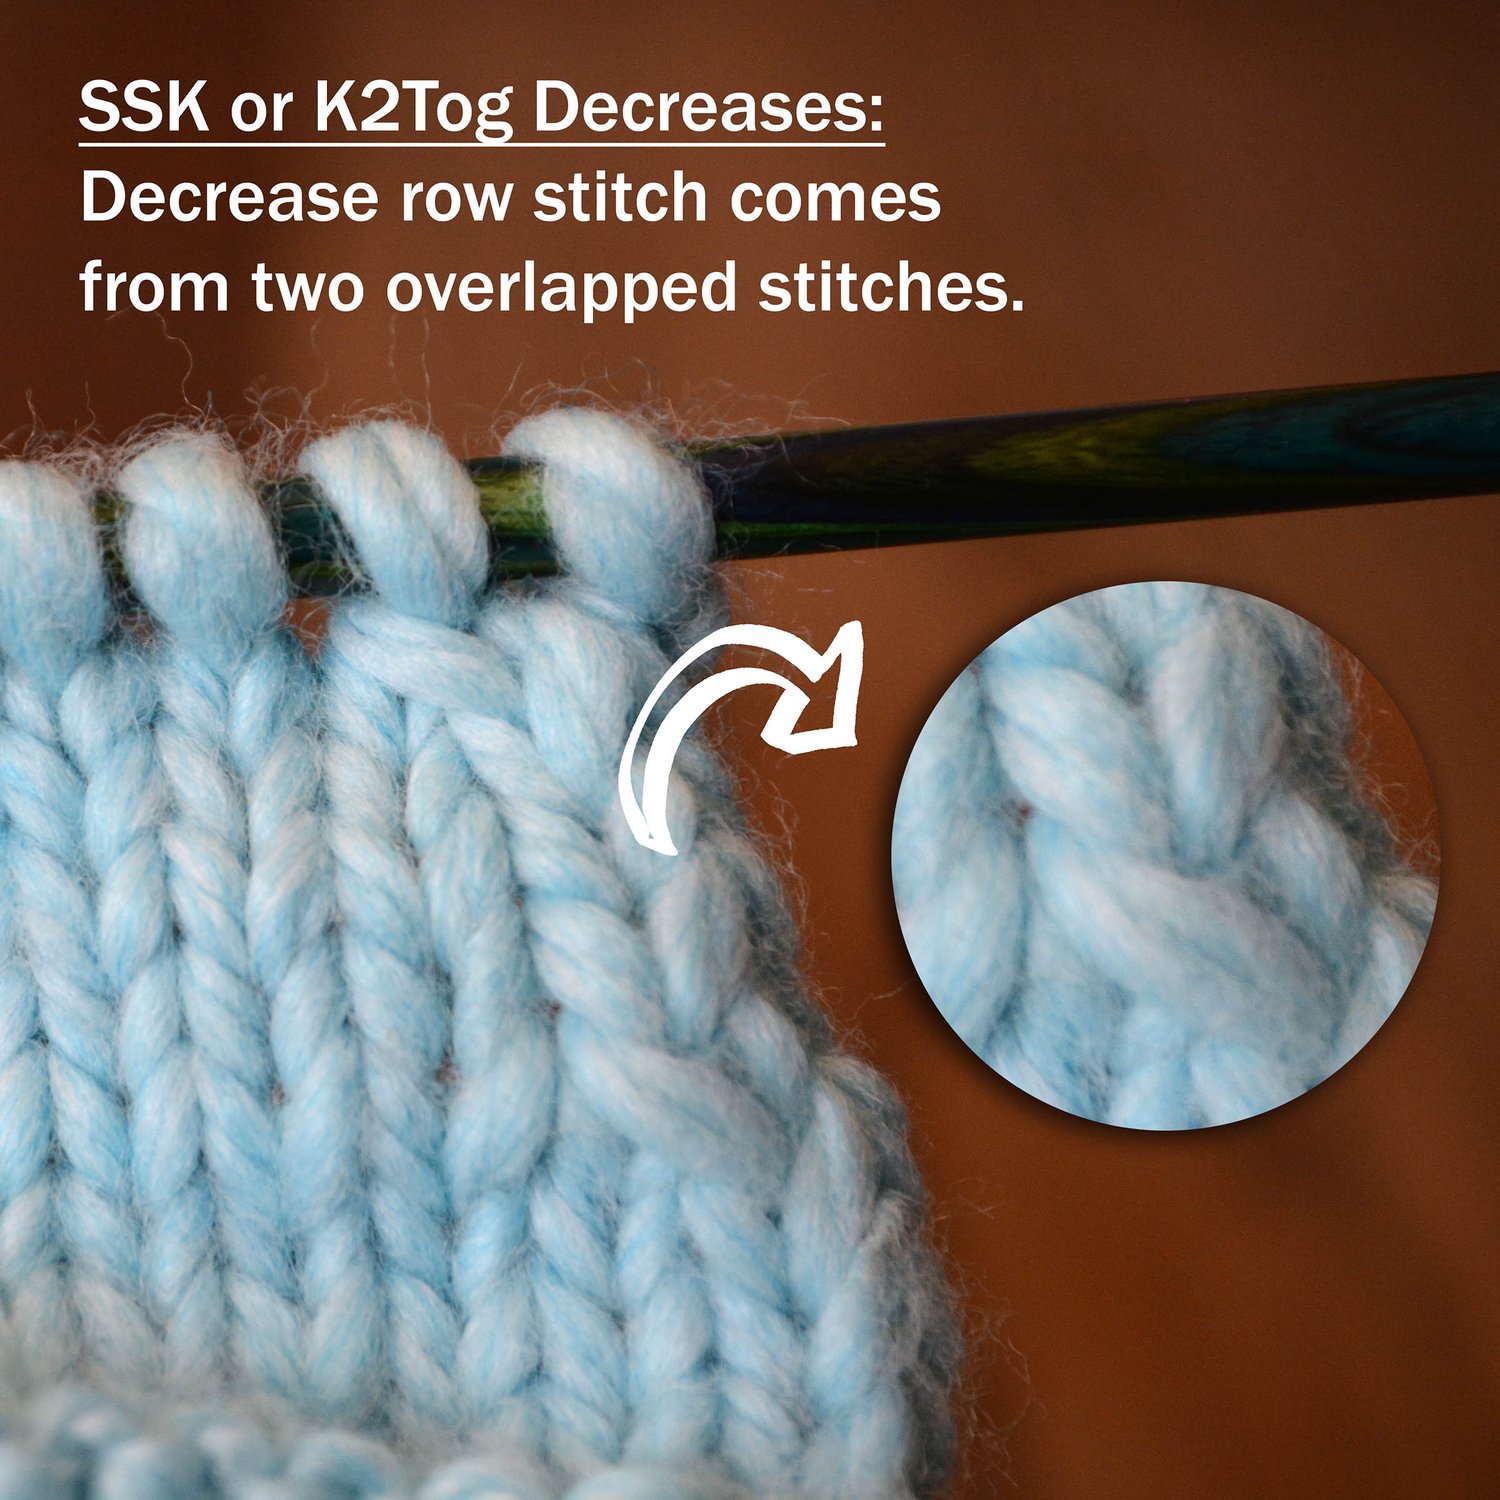
- A comprehensive list of links to online tutorials on my website for necessary skills. Tutorials are screen-reader accessible, with instructions relayed fully in text, and also include videos and downloadable photo tutorials.
- Full glossary
- Schematic
- Instructions for alterations
Publishing Information
Release Date: 2012
Most recent revision: July 2023
Publisher: My Secret Wish Publishing
Knitting pattern type: Multiple Design Options
Project type: Hat, Beanie, Toque
Page Count: 7
Page Count (Large Print): 31
ISBN (eBook0: 978-1-989800-63-8
ISBN (Bookmarked PDF): 978-1-989800-64-5
ISBN (Large Print SRA PDF): 978-1-989800-65-2
COPYRIGHT AND LICENSING NOTICE:
This pattern is copyright My Secret Wish by Talena. Your purchase of this pattern gives you the right to use it for personal, non-profit use only. To license the pattern to use for profit, please e-mail me for permission. You do NOT have the right to print the pattern for other people (unless they reside in your household) or to transfer the digital file to any other person. This pattern may not be sold, copied, or distributed in any way.
Update History
September 2022: Revised formatting of PDF to align with current template style. Clarified language where necessary. Converted PDF to be screen reader accessible.
July 25, 2023:
- Updated URLs for new store and social links.
- Created Large Print and ePUB versions.
